An easy way to test your game locally is to simply create a build, and open several instances of it. Additionally, you can connect using the Editor, with the extra benefit of being able to inspect the hierarchy and the state of its GameObjects.
Pros
Easy to distribute amongst team members
Well-understood workflow
Can test with device-specific constraints (smartphones, consoles, ...)
Cons
Not the shortest iteration time, as you need to continuously make builds
Harder to debug on the builds (requires custom tooling on your side to do so)
Make sure you've read through Local Development and have started a .
Let's create a standalone build.
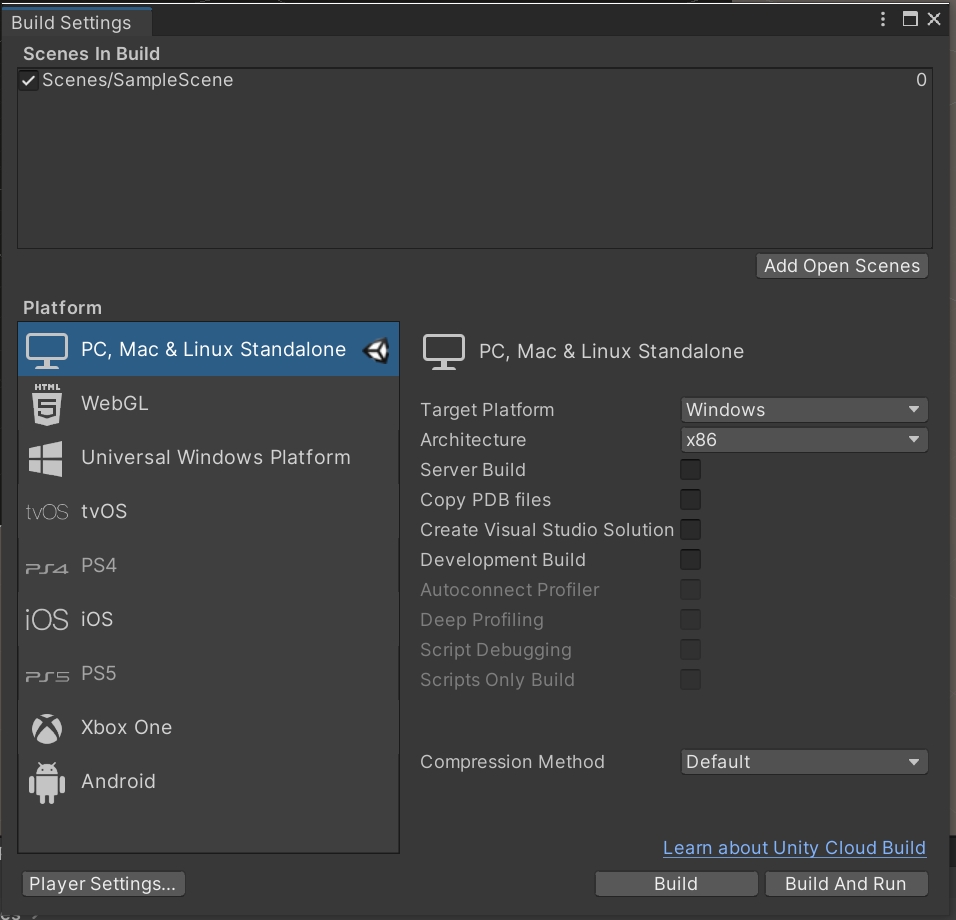
Open the Build Settings window (File > Build Settings). Click on Add Open Scenes to add the current scene to the build.
Click Build and Run.
Select a folder (e.g. Builds) and click OK.
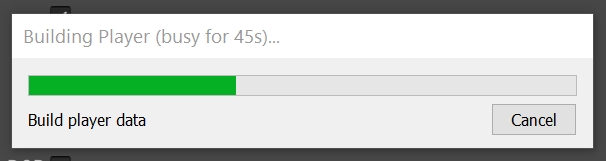
When the build is done, start another instance of the executable (or run the project in Unity by just hitting Play).
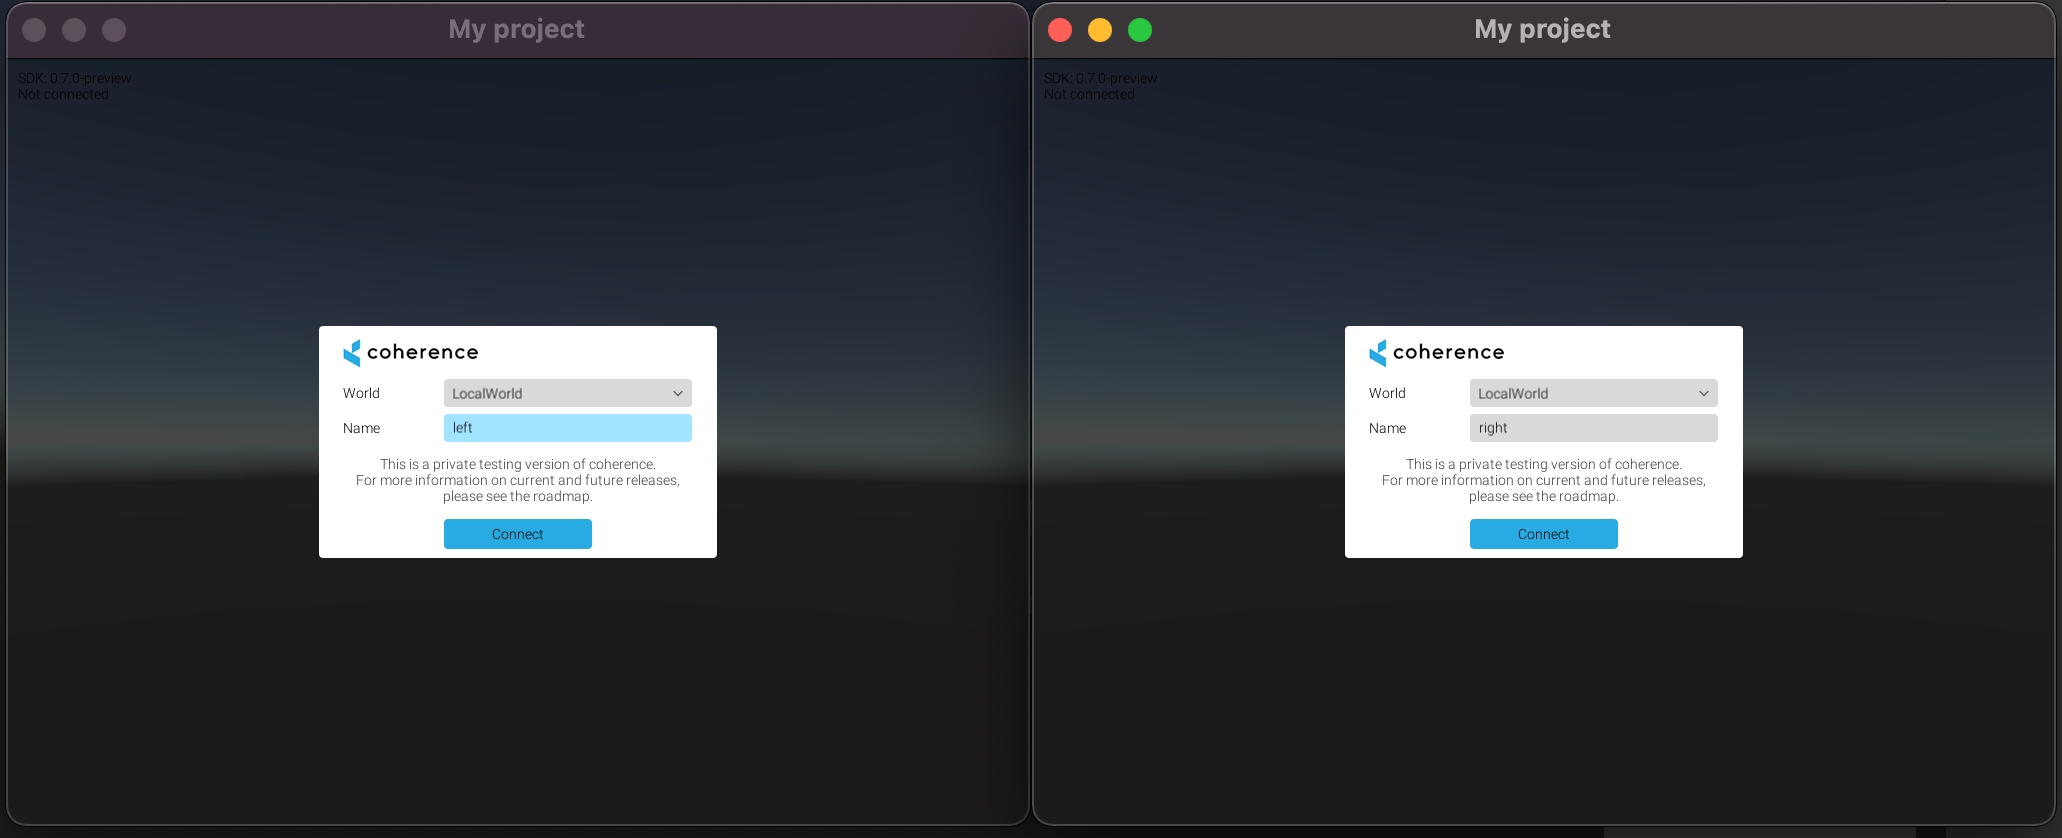
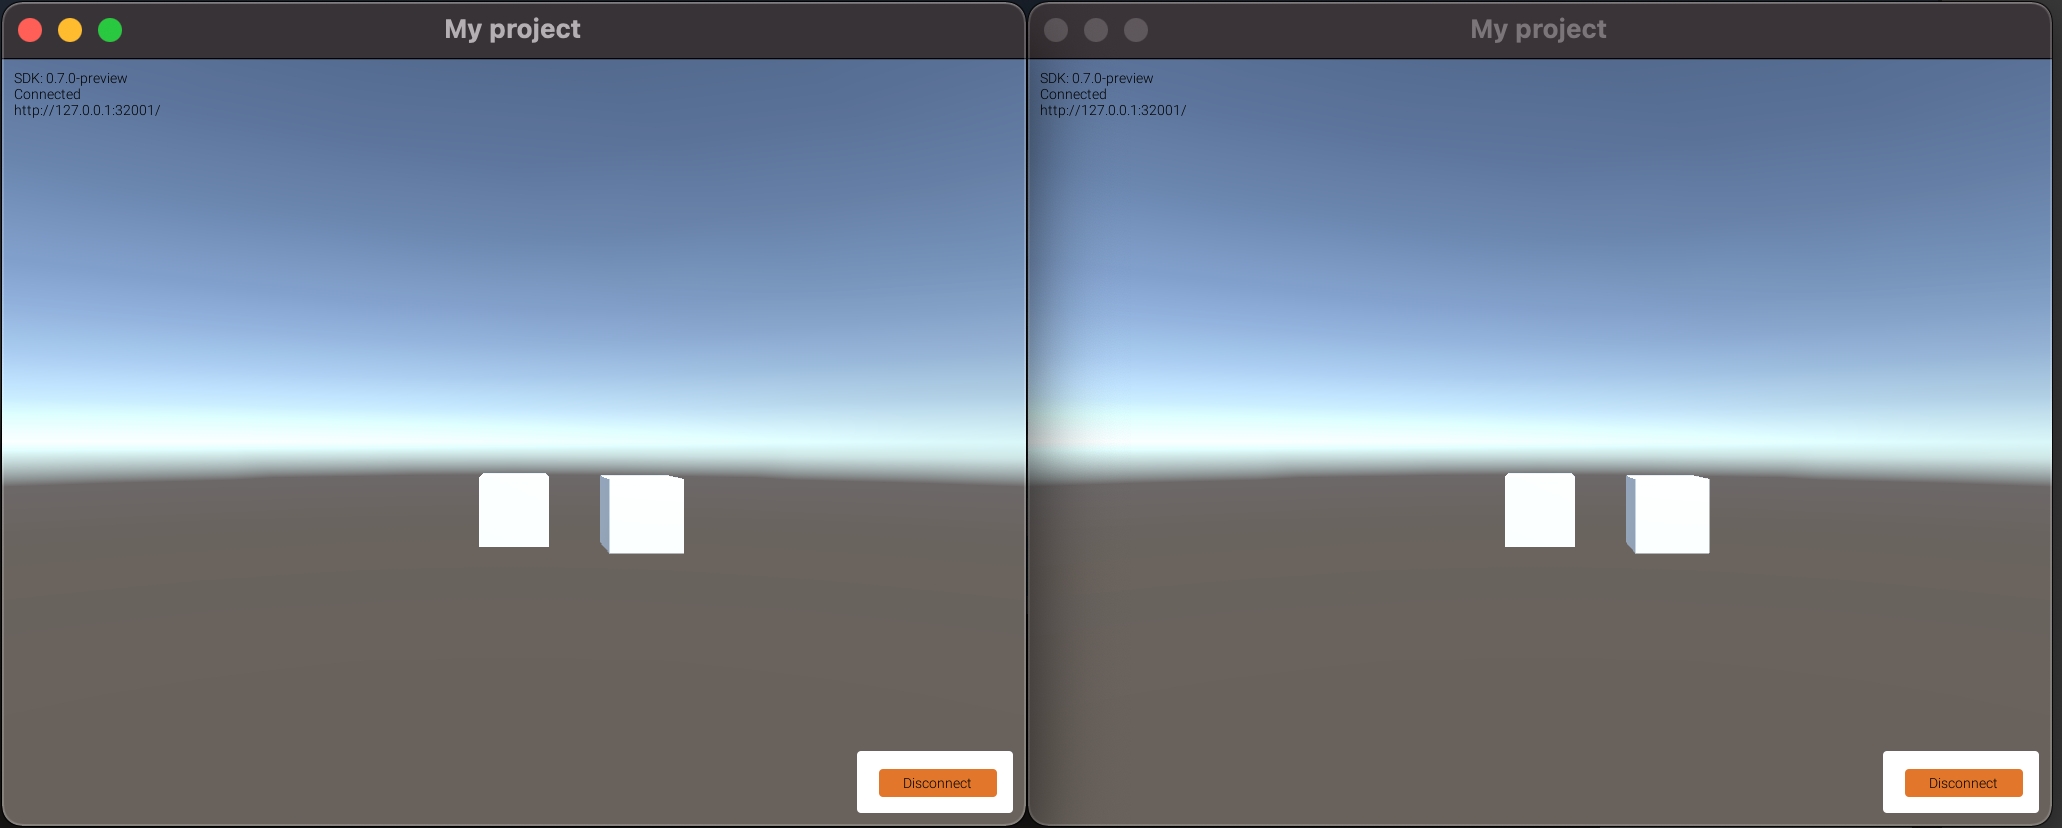
Click Connect in the connection UIs on both clients. Now, try focusing on one and using WASD keys. You will see the box move on the other side as well.
Now we can build the project and try out network replication locally. This example will show you how to launch a local Replication Server and connect multiple instances of the game to it.
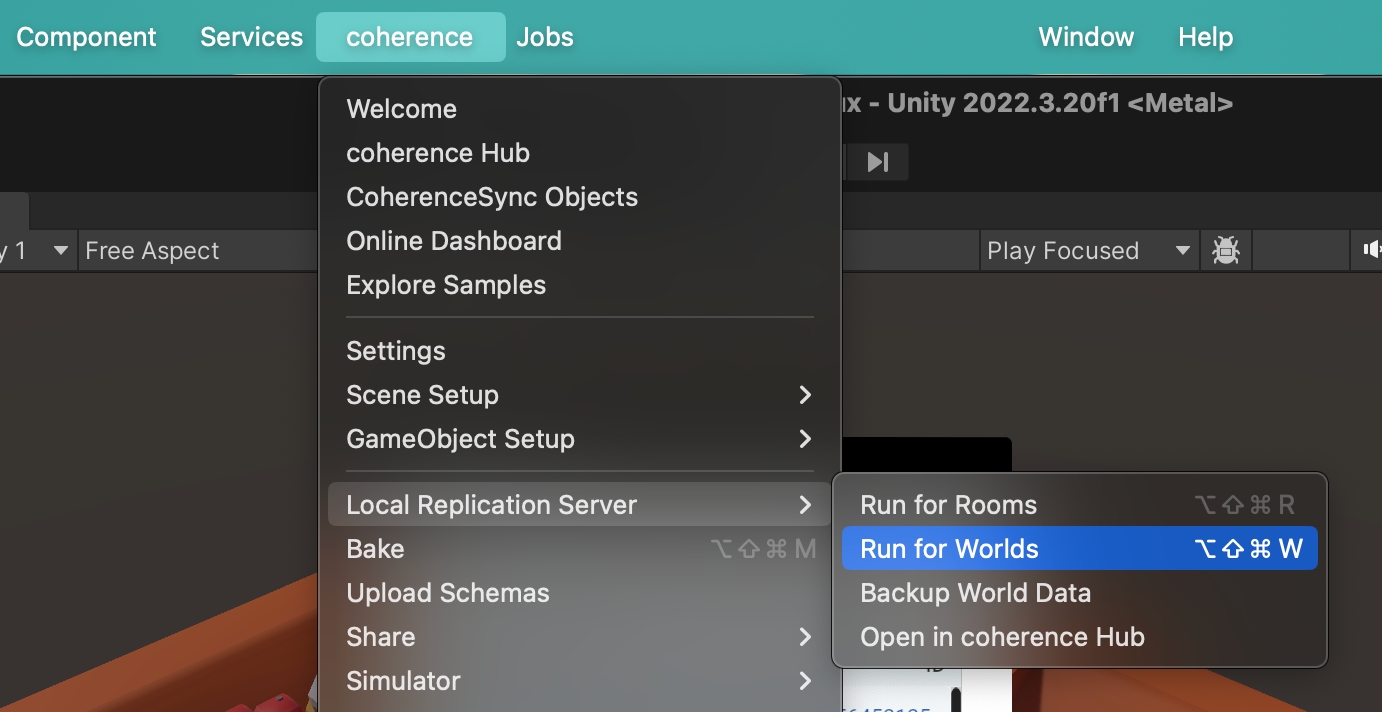
You can run a local Replication Server from:
coherence > Local Replication Server > Run for Rooms / Run for Worlds
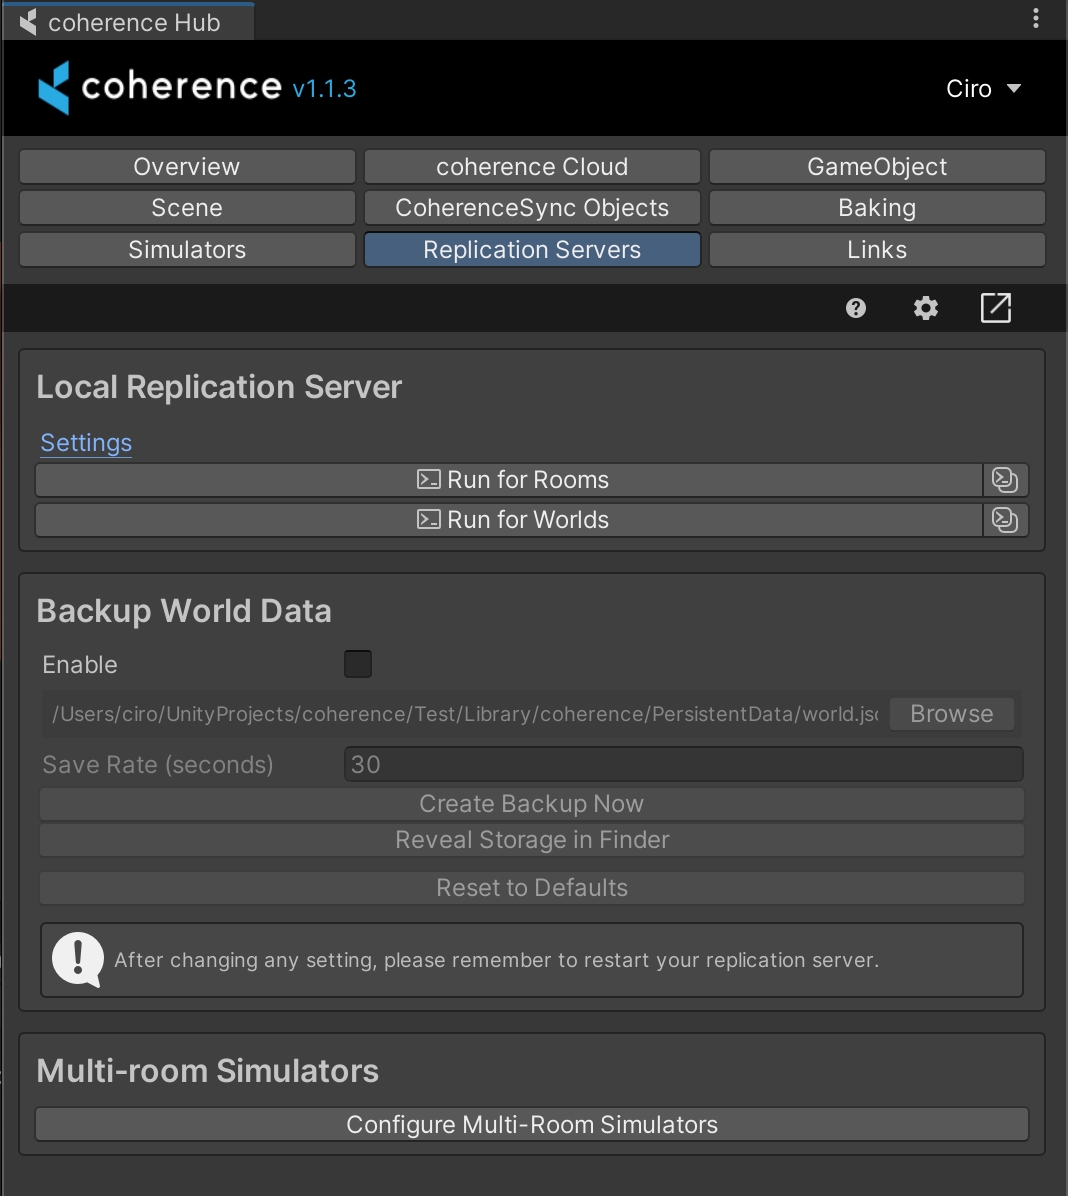
As with most features found in the menu, you can find local Replication Server functionality in the coherence Hub as well.
Open the Replication Servers tab and run a Room or a World Replication Server:
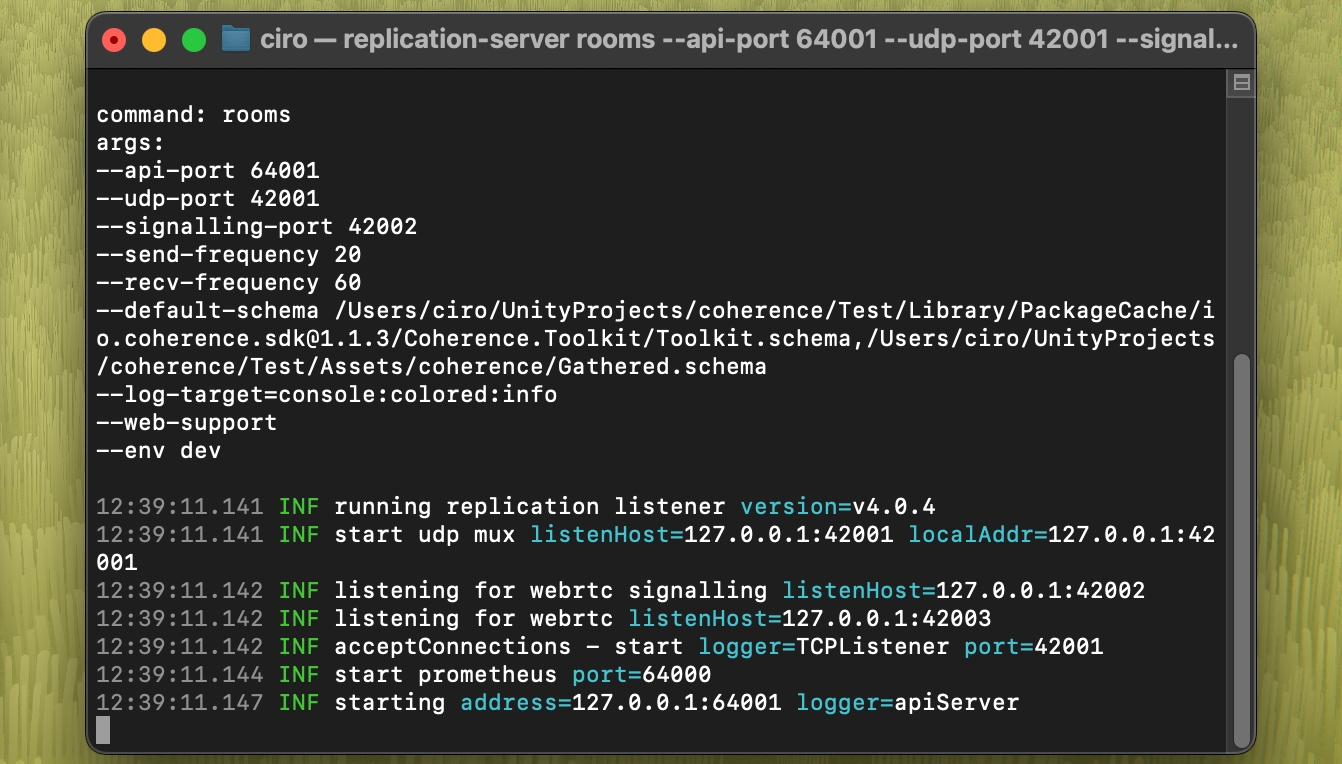
Regardless of how you launch it, a new terminal window will open and display the running Replication Server:
Done! If the terminal opens correctly and you don't see an error line, it means your Replication Server is running! Now you should be able to connect in the game.
If you can't connect
Did you change something in the configuration of your connected Prefabs? You have to bake again, and restart the Replication Server.
You will notice it because there will be a little chef's hat next to the coherence folder, or a warning sign on Bake buttons. Time to bake!

ParrelSync is an open-source project which allows you to open multiple Unity Editor instances, all pointing to the same Unity project (using Symbolic links).
Pros
Short iteration times
Easy to debug since every client is an Editor
Cons
Requires you to have multiple Unity Editors open
Install ParrelSync as described in their
UPM Package installation is preferred as coherence supports it out-of-the-box
If installing via .unitypackage, you need to set accordingly by yourself. For example, by adding the following script to an Editor folder in your project:
Open ParrelSync > Clones Manager. Create a new clone, and open it.
Continue development in the main Editor. Don't edit files in the clone Editors.
Make sure is up-to-date before starting to test, and that the Replication Server is running with the latest generated by it.
Enter Play Mode on each Editor.
coherence tells apart ParrelSync clones from the main Editor, so it's easier for you to not edit assets in clones by mistake.
MPPM is Unity's official solution for local multiplayer testing, available for Unity 2023.2+.
Pros
Short iteration times
Tighter integration within the Editor, doesn't require multiple (standalone) Editors open
Cons
Requires Unity 2023.2+
Can be more resource demanding than other solutions - this might change in upcoming MPPM updates
Install MPPM as described in their
Open Window > Multiplayer Play Mode
Enable up to 4 Virtual Players
Make sure that the is up-to-date before starting to test, and that the Replication Server is running with the latest schema generated by it
coherence tells apart Virtual Players from the main Editor, so it's easier for you to not edit assets in clones by mistake.
// Assets/Editor/CoherenceClone.cs
// This script is only needed if you're installing ParrelSync via .unitypackage

using Coherence.Editor;

[InitializeOnLoad]
internal class CoherenceClone
{
  static CoherenceClone()
  {
    CloneMode.Enabled = ParrelSync.ClonesManager.IsClone();
  }
}
Enter Play Mode