Now that we have tested our project locally, it's time to upload it to the cloud and share it with our friends and colleagues. To be able to do that, we need to create a free account with coherence.
In your web browser, navigate to https://coherence.io/dev. Create an account or log into an existing one.
At this point, you can create a free account, which will grant you a number of credits that are more than sufficient to go through developing and testing your game in the cloud.
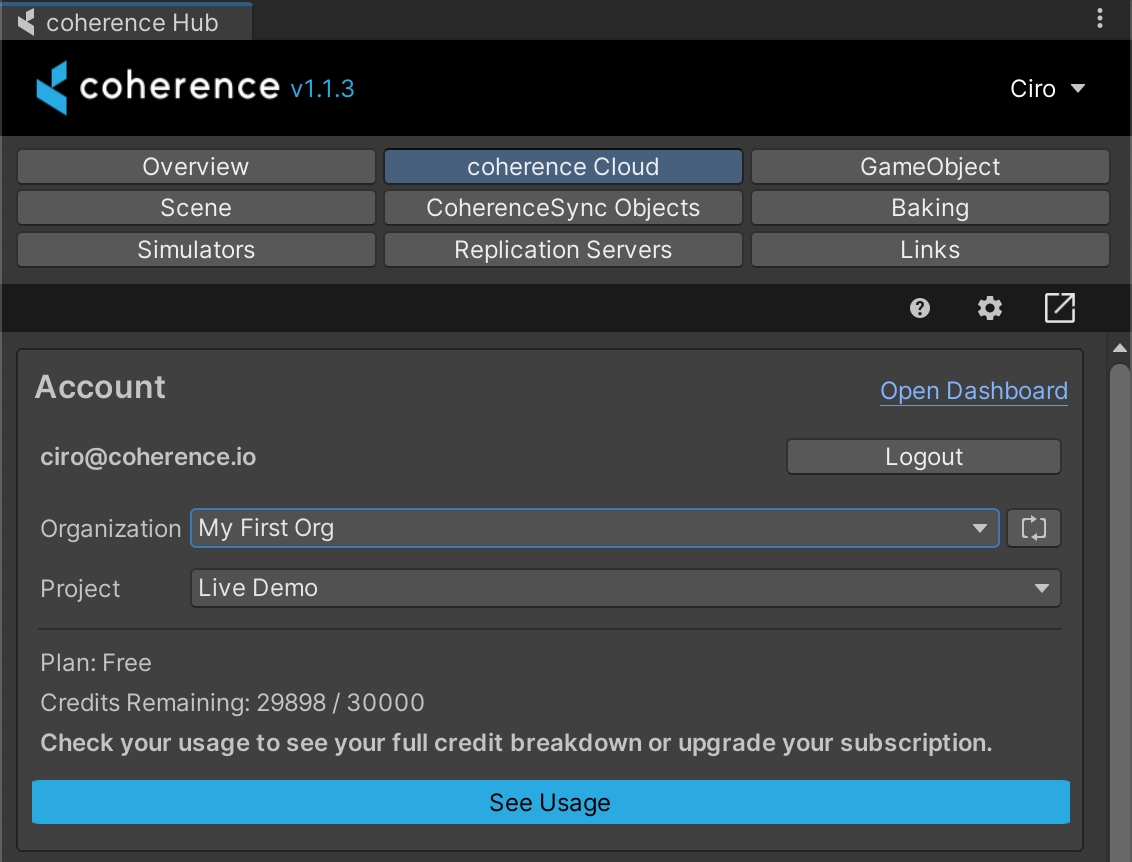
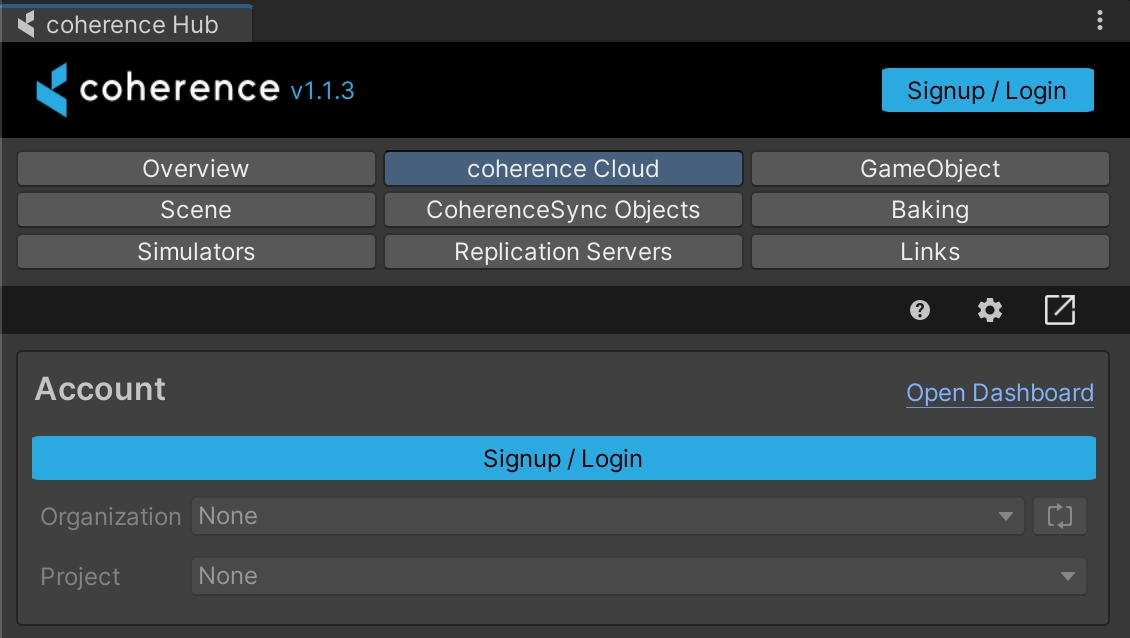
Open the coherence Hub window. Then open the coherence Cloud tab.
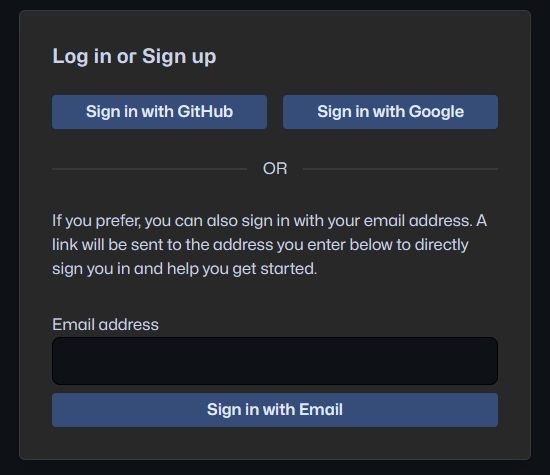
After pressing Login you will be taken to the login page. Simply login as usual, and return to Unity.
You are now logged into the Portal through Unity. Select the correct Organization and Project, and you are ready to start creating.
To recap
We created a coherence account and connected in the Unity, so now we can see our orgs and projects directly within the Editor and link to them.
As a next step in the sub-pages of this section we'll see how to deploy a Replication Server in the cloud, and how to share builds.
coherence allows you to upload and share the builds of your games to your team, friends or adoring fans via an easy-access play link.
Right now we support desktop (PC, Mac, Linux) and also WebGL, where you can host and instantly play your multiplayer game and share it around the world.
If you want an example of WebGL builds, try out our sample projects First Steps or Campfire (make sure to use Chrome!)
First, you need to build your game to a local folder on your computer as you normally would. Ensure to bake before doing so!
In the coherence Hub window, select the coherence Cloud tab.
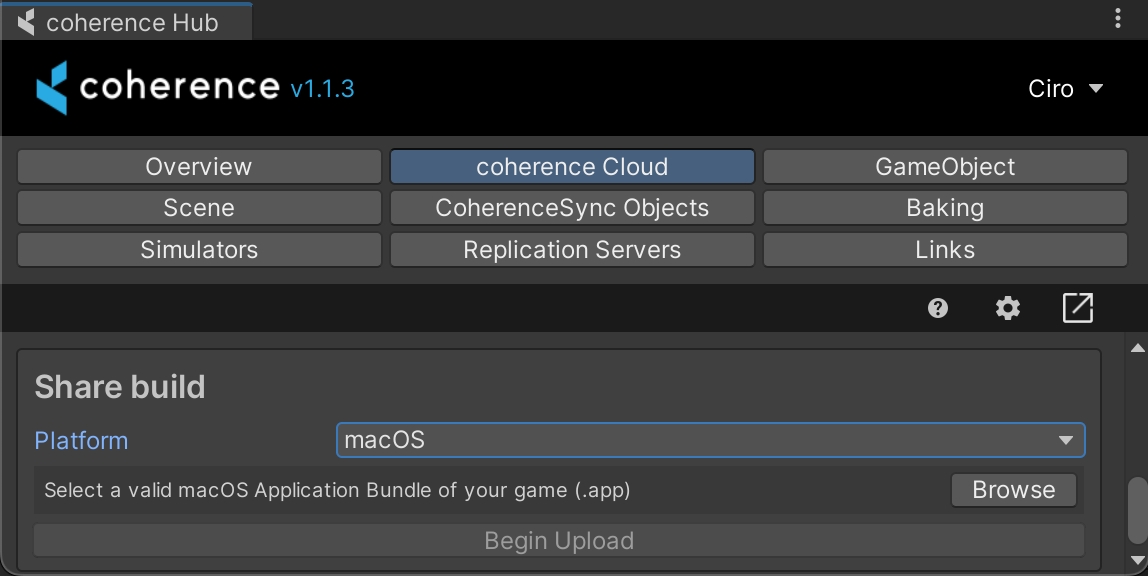
You can upload your build from the Share Build section of the tab. Select the platform, browse for the previously-created build, and click on the Begin Upload button.
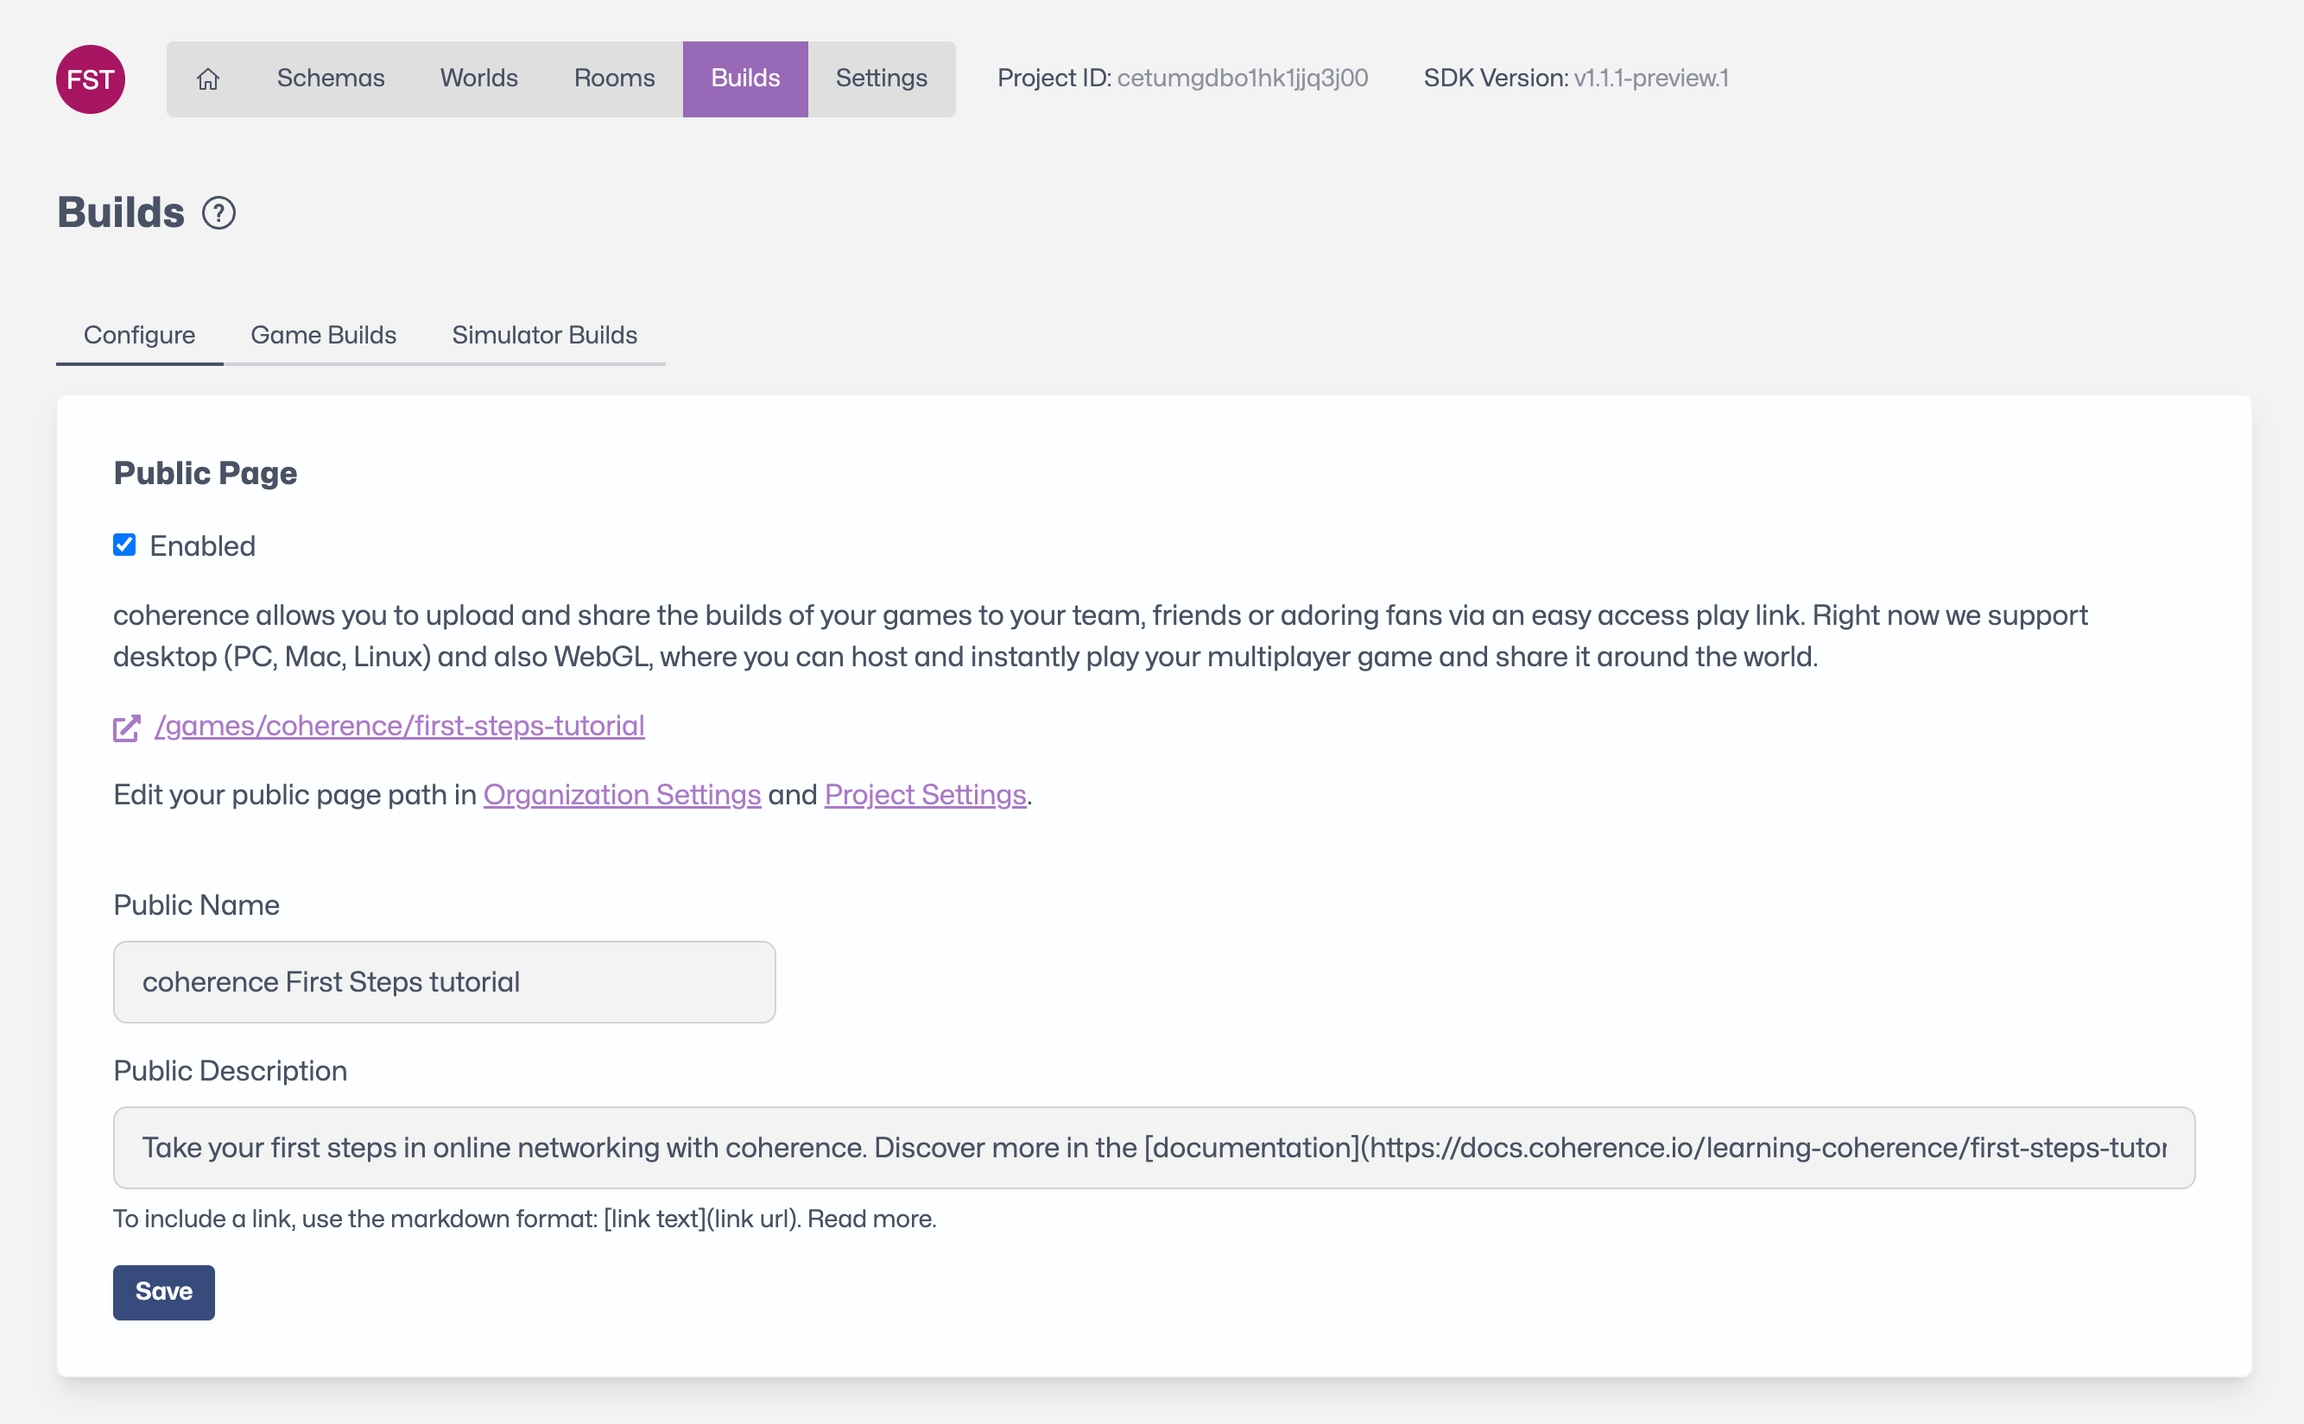
Now that build has been uploaded, you can share it by enabling and sharing the public URL on the coherence Cloud Dashboard:
Here you can customise the page to a degree. Don't forget to include instructions in the description, if your game doesn't have any!
By unchecking the Enabled option, you can obscure the page altogether, without having to remove builds.
Click on the Game Builds tab to manage builds for different platforms.
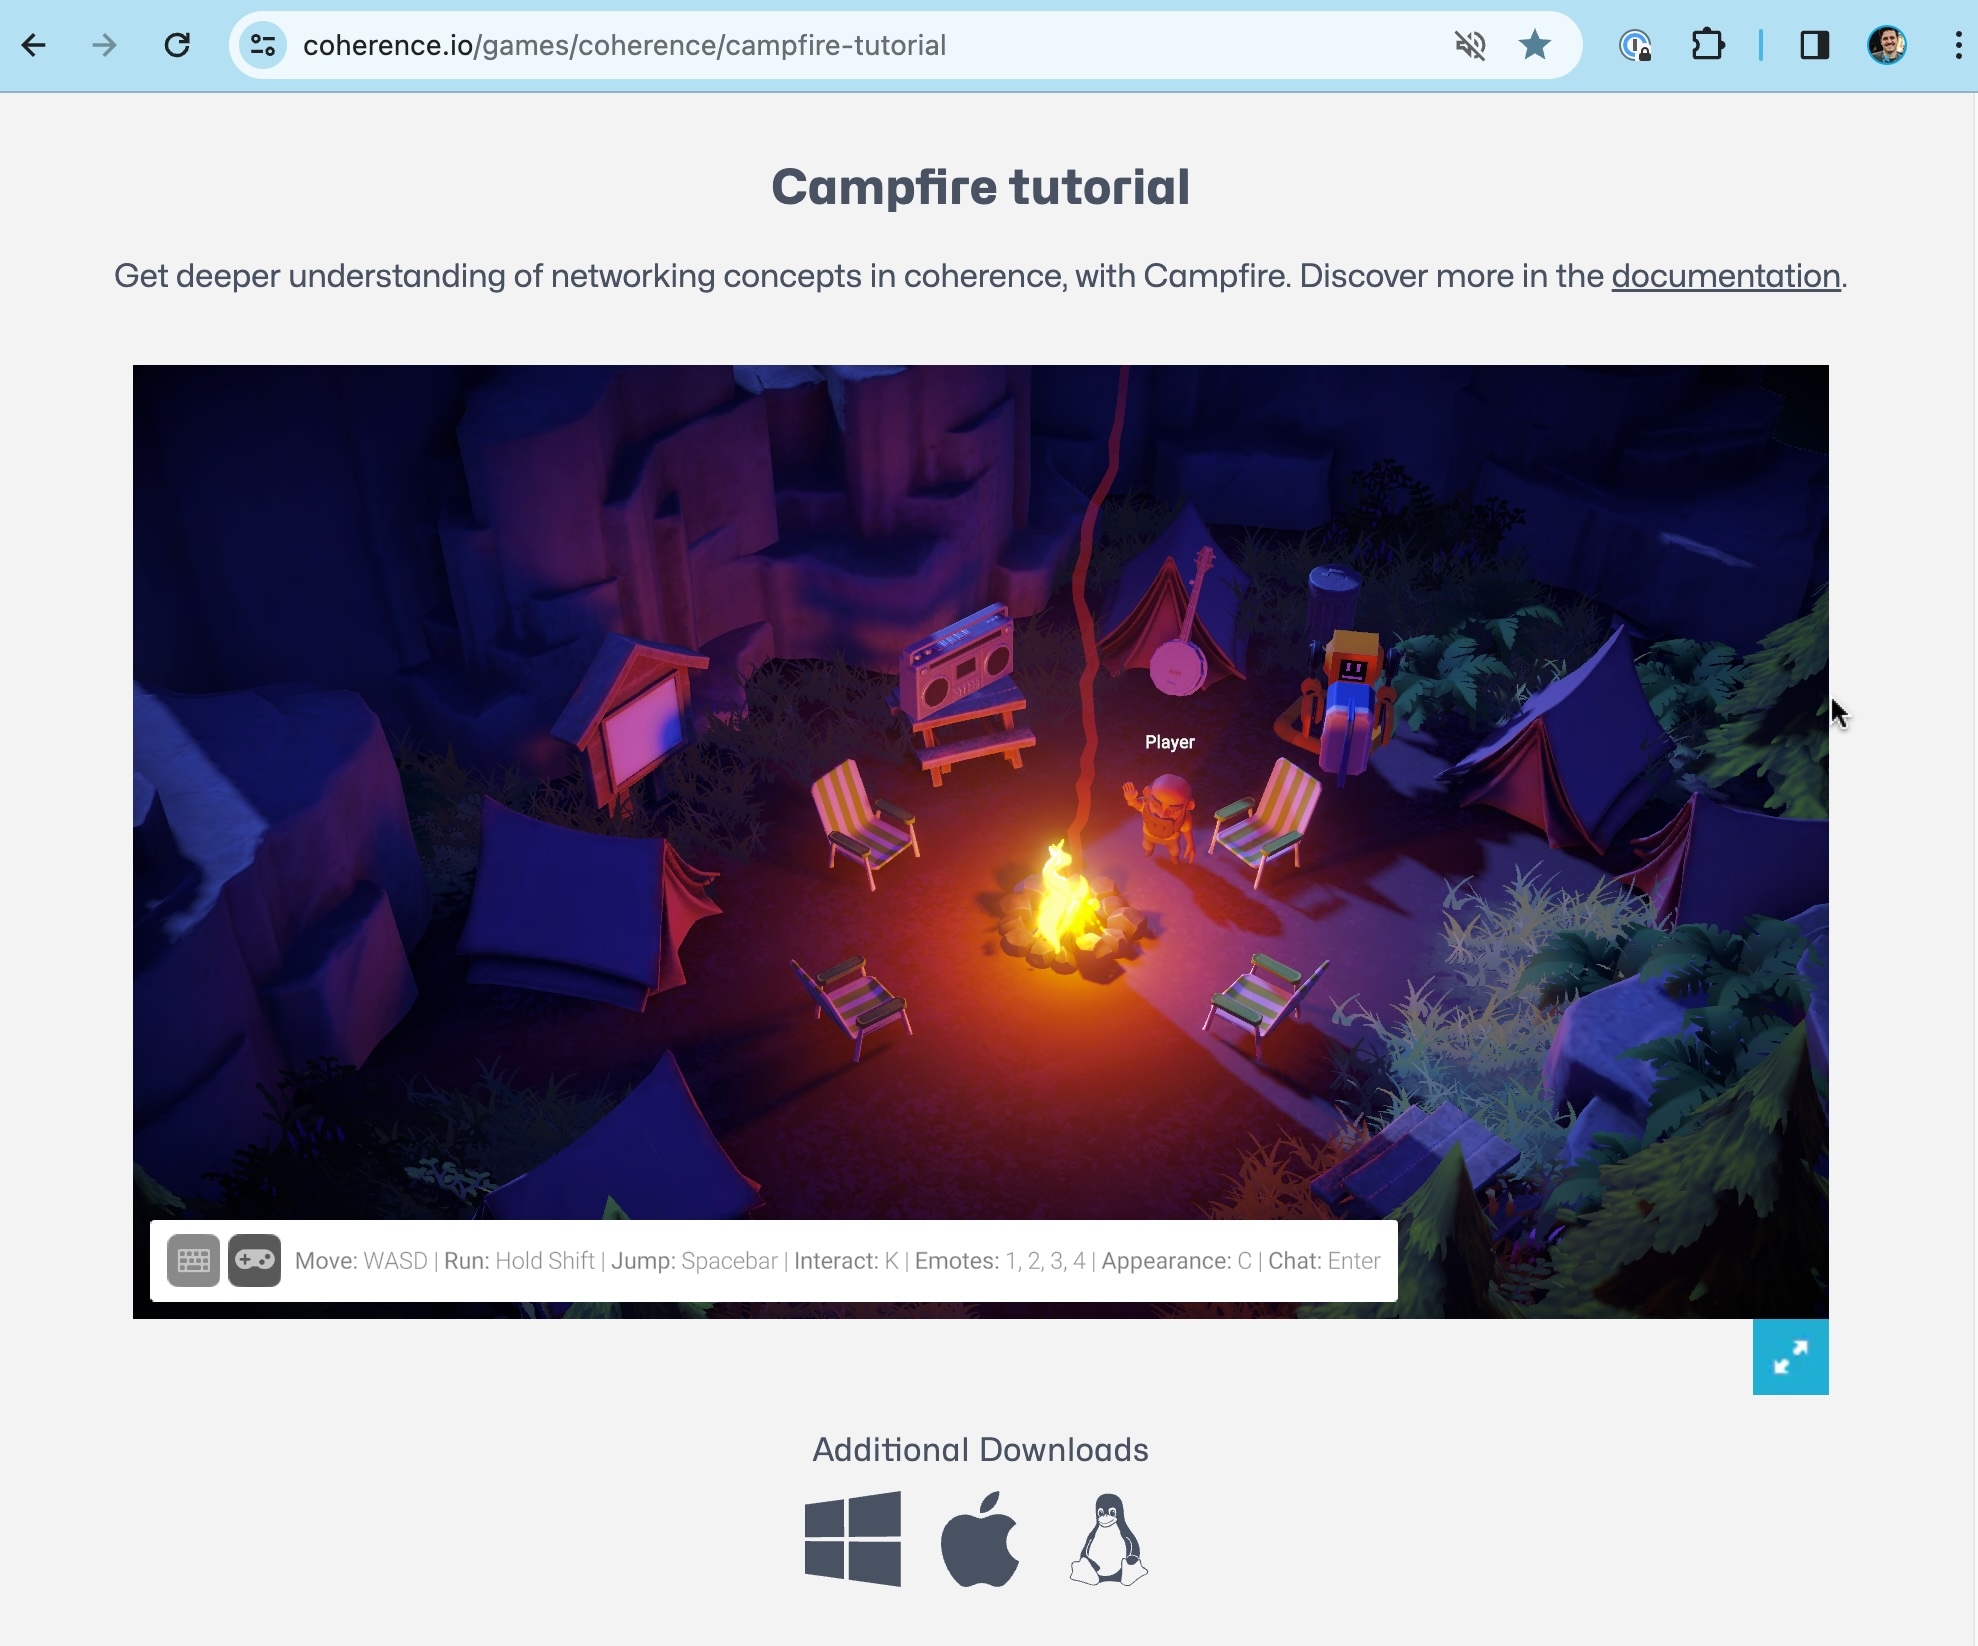
If you uploaded a WebGL build, the public link now allows for instant play directly in the browser:
If you uploaded builds for other platforms, they will be downloadable by clicking on the icons right below the WebGL build.
That's it! You made and shared a multiplayer game, hosted in the cloud. Surely it's simple for now, but now that the technical aspects are out of the way, you can focus on fun gameplay.
We recommend heading to our Samples and Tutorials section, dive into the samples or watch some video tutorial, to learn all about deeper topics.

Now we can finally deploy our schema and Replication Server to the coherence Cloud.
In this example we're working with Worlds. Make sure you have created a World before trying to deploy the Replication Server. To create a World, follow the steps described in Manage Worlds.
The topics on this page start from around 1:00 in the video below:
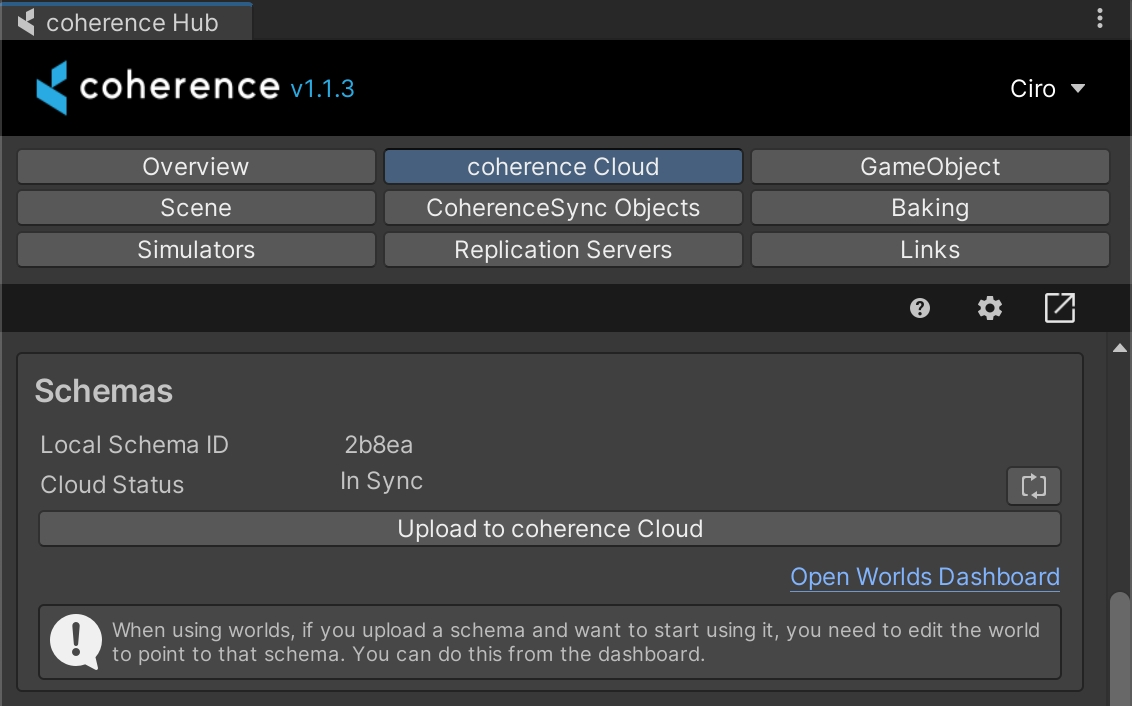
In the coherence Hub window, select the coherence Cloud tab, and click on Upload to coherence Cloud in the Schemas section.
The Cloud Status in the Schemas section should now be In Sync.
If the status does not say "In Sync", or if you encounter any other issues with the server interface, refer to the troubleshooting section.
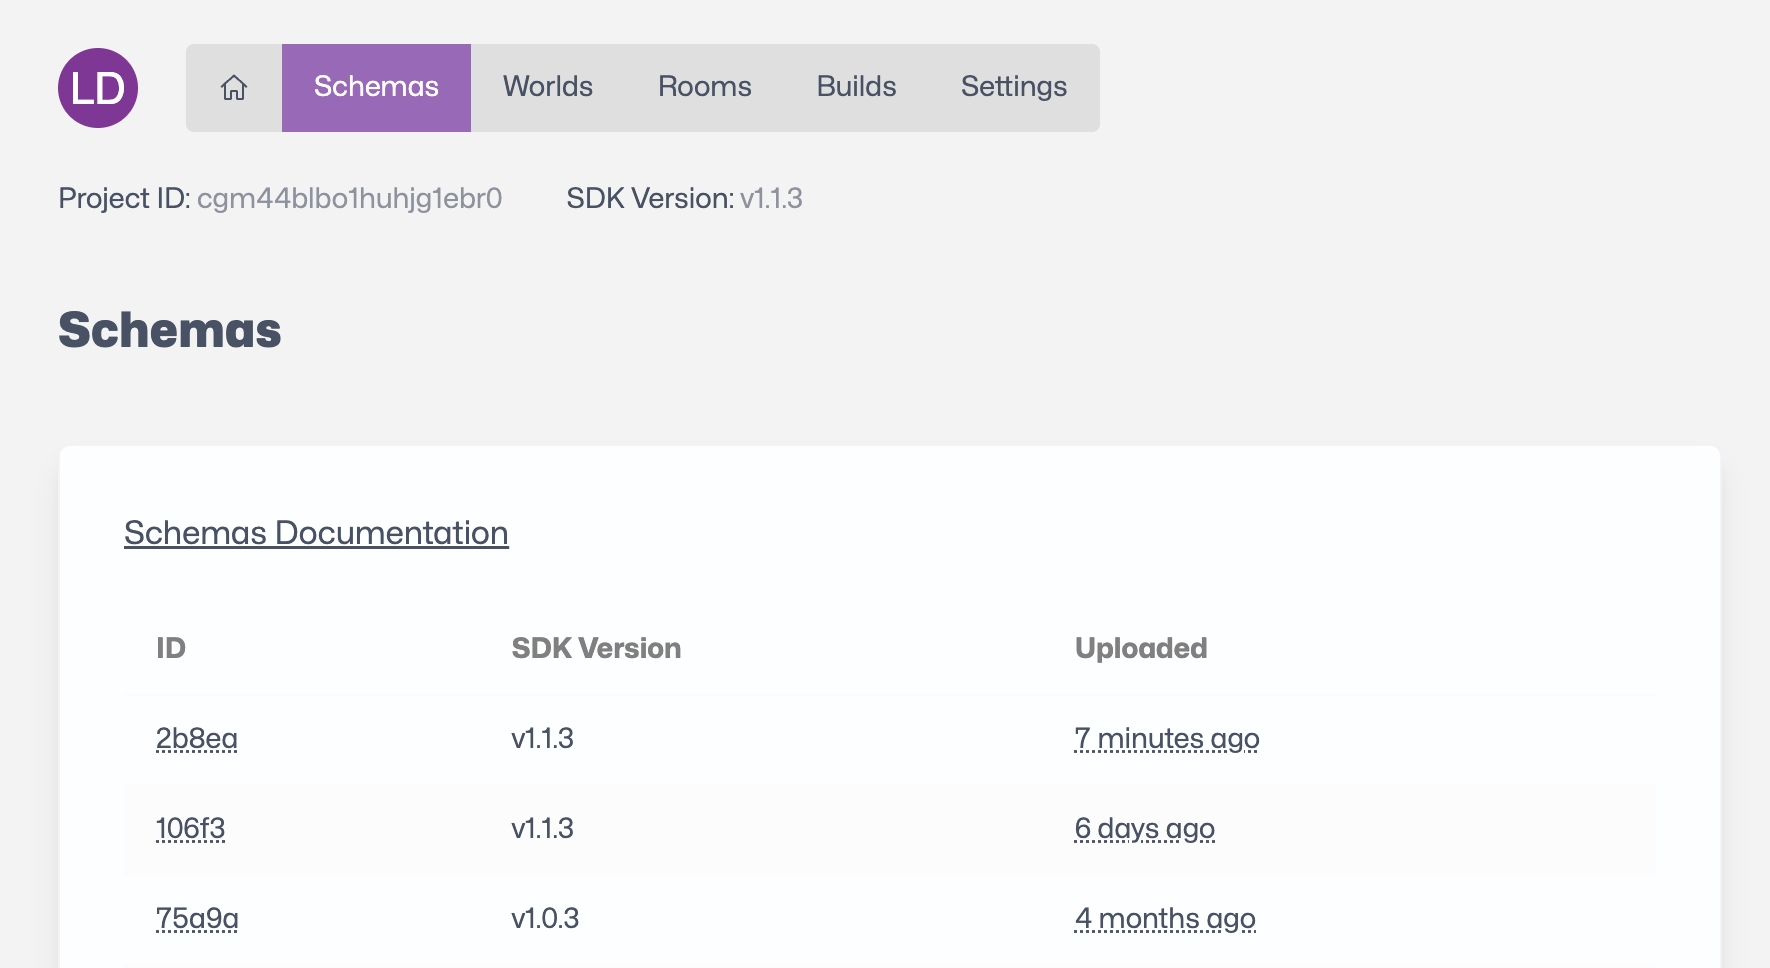
Your project schema is now deployed with the correct version of the Replication Server already running in the cloud. You will be able to see this in your cloud dashboard status.
You can now build the project and send the build to friends or colleagues for testing.
If you used one of the Connection Dialog samples, once you play the game it will fetch all the regions available for your project. This depends on the project configuration (e.g., the regions that you have selected for your project in the Dashboard).
You will be able to play over the internet without worrying about firewalls and local network connections.
For quick and easy testing, we suggest trying out uploading a WebGL build. Anyone with the link can then try the build in a browser.
