coherence provides two types of spaces where realtime gameplay can happen: Rooms and Worlds. In addition to these, Lobbies provide functionality for players to meet before a match, and to chat.
Rooms are best for session-based gameplay where the match between players takes place in a short-lived environment. You can use the Online Dashboard to configure Rooms.
A good example is a first person shooter multiplayer match. The match takes place between two teams in a single game session, and players enter through a lobby and matchmaking. When the match is concluded, the multiplayer environment the match took place in (the Room) is closed and players return to a lobby.
This is one example of how Rooms can be used, but it is by no means the only use case. The important distinction between Rooms and Worlds (see below) is that Rooms are relatively short-lived and are meant to be created and closed by the Game Client through the coherence SDK.
See Rooms API.
Worlds, as opposed to Rooms, are longer-lived and permanent multiplayer environments provided by coherence. Using the Online Dashboard, your project will easily define and manage your World configurations.
See Worlds API.
A good example of a World is a permanent environment for an Massively Multiplayer Game (MMO). Regardless of the number of players connected, the environment is always available, and players can connect and disconnect at will.
Entities can be permanently saved in the World so that even if there are no active connections, they still persist when players do connect.
Note that upon shutting down the World or restarting its Replication Server, the state of persistence is lost under current implementation.
Your project does not have to choose one or the other. A project in coherence can contain both World and Rooms.
The primary difference in the configuration and usage of Room and Worlds is that Worlds are managed in the Developer Portal, whereas Rooms are created and managed through the SDK.
A good example of this scenario is again, our MMO. Although players connect to a permanent and persistent World, they may enter a dungeon instance with other players. These dungeon instances can be Rooms.
What about Lobbies?
In coherence, Lobbies work slighlty differently than Rooms and Worlds, and in fact they are not run by a Replication Server.
Lobbies are a convenient way to do matchmaking between player accounts, filter players based on their attributes, and provide a way for them to communicate among each other.
For more info, you can read the Lobbies section.
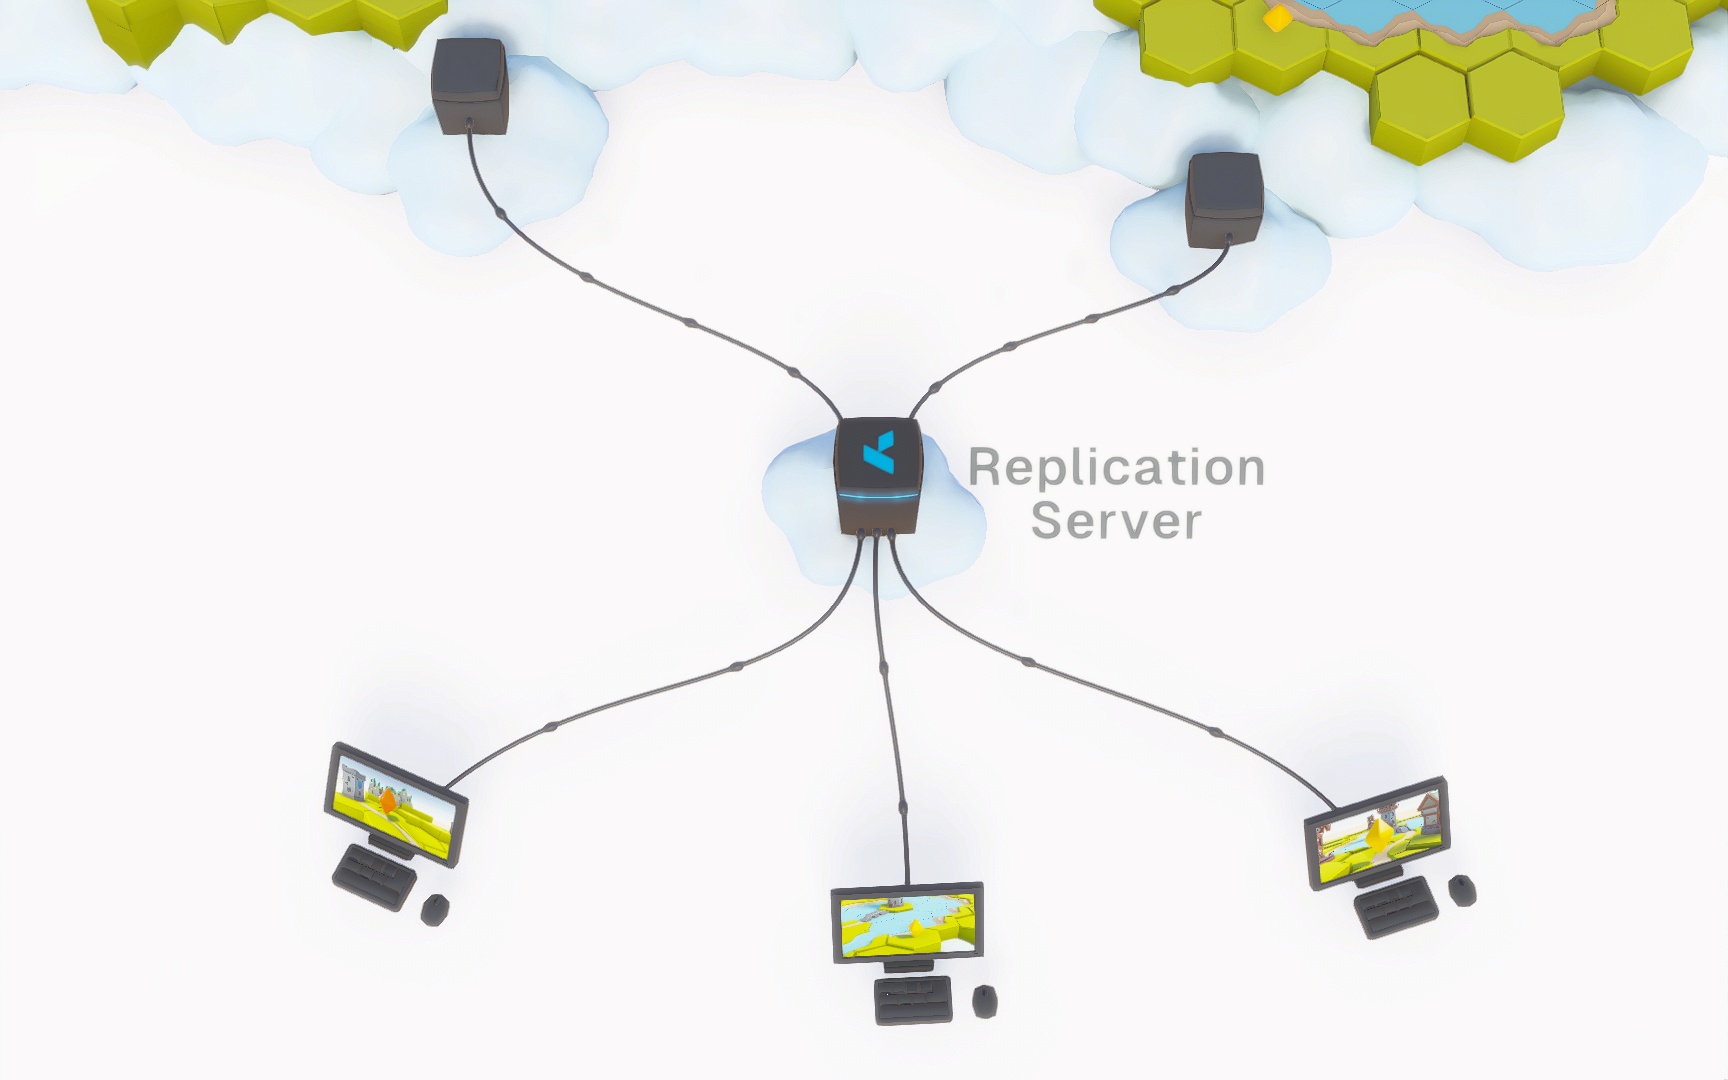
The Replication Server is an essential part of coherence. It is an executable that replicates the state of the world to all connected Clients and Simulators.
To understand what is happening in the game world, and to be able to contribute your simulated values, you need to connect to a Replication Server.
A Replication Server can be run in the coherence Cloud, but while developing we recommend that you first start with one running locally on your computer. coherence is designed so you can easily develop everything locally first, and then deploy to the Cloud without any change to the game.
You can start a local Replication Server from the coherence Hub, in the Replication Servers tab, just by clicking on the buttons there:
To understand the two types of Replication Server that you can run, refer to the Rooms and Worlds page.
You can also start the Replication Server from the coherence > Local Replication Server menu, or by pressing Ctrl+Shift+Alt+R (for Rooms) or Ctrl+Shift+Alt+W (for Worlds).
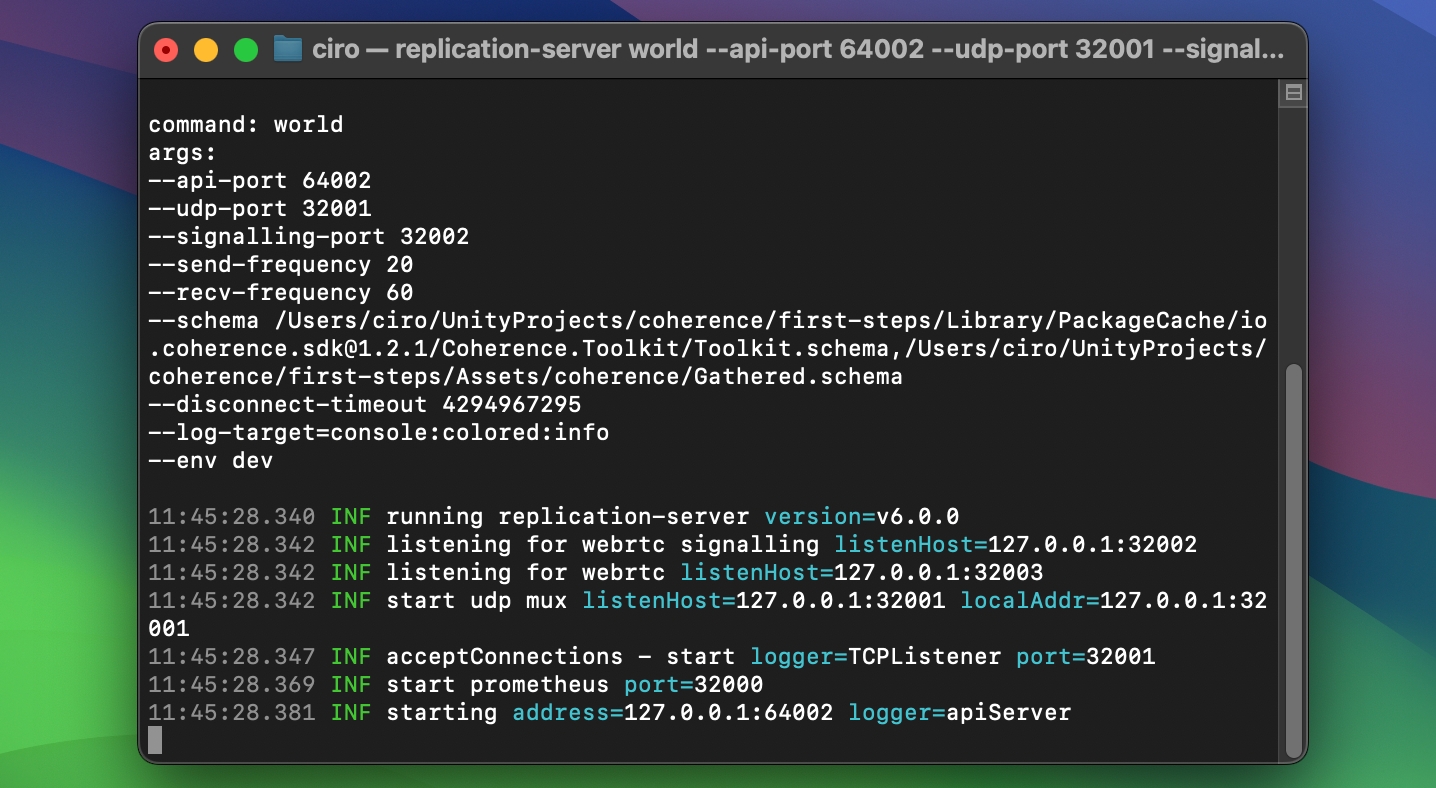
If you start a Replication Server locally, a new Terminal window will open.
Once a Replication Server is running, connection to it can be established using a CoherenceBridge component.
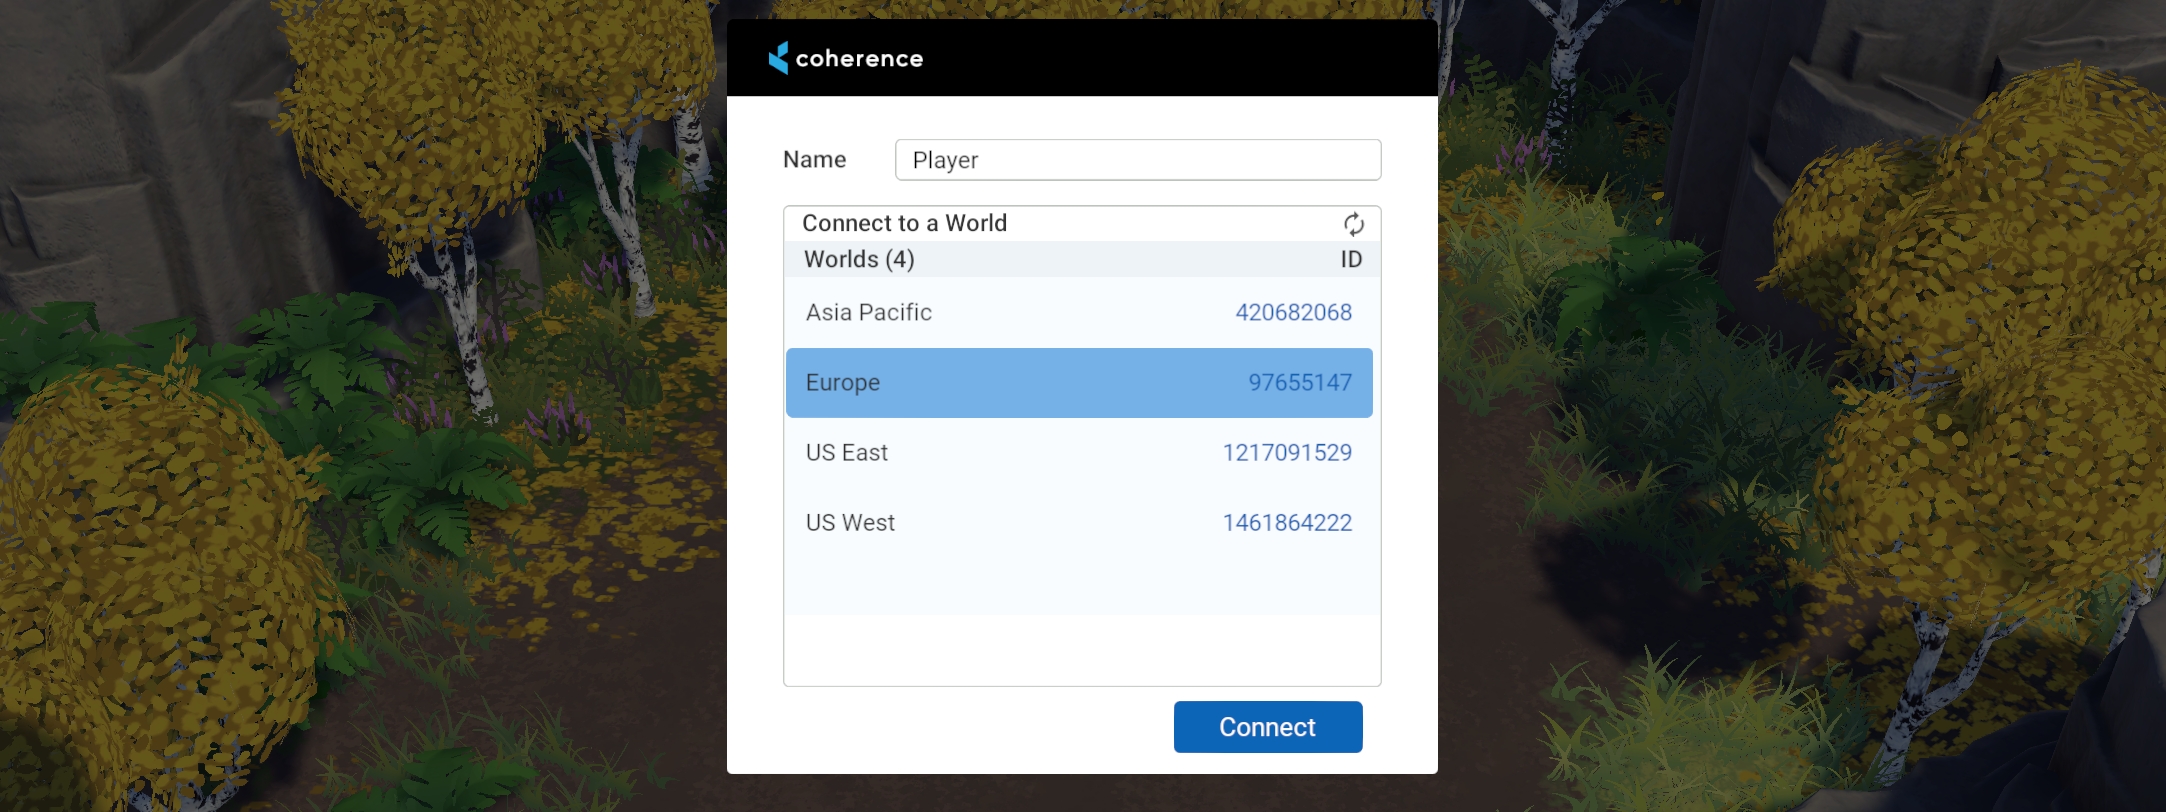
The CoherenceBridge needs to know what to connect to. A simple way to connect is to use one of our Sample Connection UIs:
Sample Connection UIs scan the available Worlds and Rooms, and prepare the endpoint data so that the CoherenceBridge can find the Replication Server. You can find them in the SDK package itself, by going to Unity's Package Manager, and then exploring the package samples.
Later on, when you are developing a full game, you will probably recreate your own UI, using the Replication Server APIs.
For more information on your first time using a Replication Server, refer to the Local Development page in our getting started guide.
The Replication Server supports different packet frequencies for sending and receiving data.
The send frequency is the frequency that the Replication Server uses to send packets to a given Client. Each Client can be sent packets at different times, but the packet receive frequency for any Client will not exceed the Replication Server's send frequency.
The receive frequency is the maximum frequency at which the Replication Server expects to receive packets from any Client, before throttling. If a Client sends packets to the Replication Server at a higher than expected frequency, that Client will receive a command to slow down sending. If the Client doesn't respect the command to throttle packet sending then the Client is disconnected after a time. All extra packets received by the Replication Server, after a threshold based on the receive frequency, are dropped and not processed. This is to prevent malicious Clients from flooding the Replication Server. The Unity SDK handles throttling automatically.
It is possible for the Replication Server to temporarily request Clients to reduce their packet send rates if the processing load of the Replication Server is too high. This is automatic and send rates from the affected Clients are commanded to resume once the load is reduced.
Low and consistent send rates from the Replication Server allow for optimal bandwidth use and still support a smooth stream of updates to Clients. Try different rates during local replication tests to see what works well for your game.
For a locally hosted Replication Server, you can edit the send and receive frequencies by using the CLI arguments --send-frequency and --recv-frequency. Or by changing it in the coherence Settings -> Local Replication Server -> Send Frequency / Recv Frequency.
On the dashboard, the packet frequencies for sending and receiving data can be adjusted per project too. It is part of the Advanced Config section of Worlds create/edit and Rooms pages of the dashboard.
Adjusting the send and receive frequencies on the dashboard is available for paid plans.
This page illustrates a few API you can use to interact with the Replication Server.
When the Replication Server is running, you connect to it using the Connect method.
After trying to connect you might be interested in knowing whether the connection succeeded. The Connect call will run asynchronously and take around 100 ms to finish, or longer if you connect to a remote Server.
The OnLiveQuerySynced event is triggered when the initial game state has been synced to the client. More specifically, it is fired when all entities found by the Client's first Live Query have finished replicating. This is the last step of the connection process and is usually a good place to start the game simulation.
To connect to Cloud-hosted Servers, see Rooms API and Worlds API documentation.
Check Run in Background in the Unity settings under Project Settings > Player so that the Clients continue to run even when they're not the active window.
To connect with multiple Clients locally, publish a build for your platform (File > Build and Run, details in Unity docs). Run the Replication Server and launch the build any number of times. You can also enter Play Mode in the Unity Editor.
For Mac Users: You can open new instances of an application from the Terminal:
By default, the number of players that can connect to a locally hosted Replication Server is limited to 100.
By definition, a locally hosted Replication Server is one that is not managed by coherence, for example if it has been started from a Unity editor or by a game client in the self-hosting scenario. Replication Servers running in the coherence Cloud have no player limit.
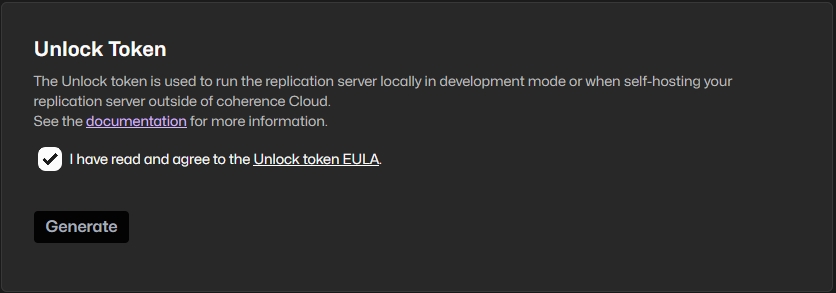
This restriction can be lifted by supplying the SDK with an unlock token. The token can be generated in the Settings section of your project dashboard at coherence.io.
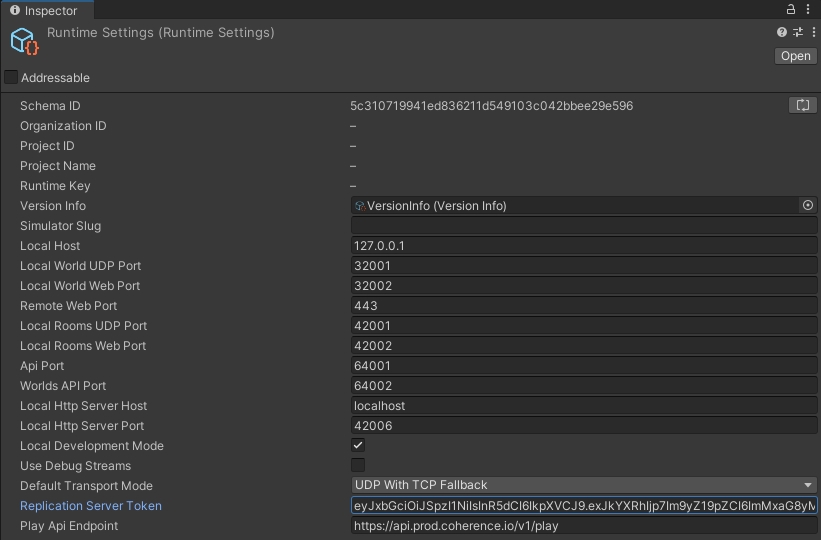
Once you have the token, it needs to be added to the coherence RuntimeSettings (Assets/coherence/RuntimeSettings.asset):
The unlock token will now be automatically passed to all the Replication Server instances started via Unity editor or the Coherence.Toolkit.ReplicationServer API.
If you plan to execute the Replication Server manually the token can be supplied via the --token <token> command line argument.

