Campfire project
Advanced networking concepts
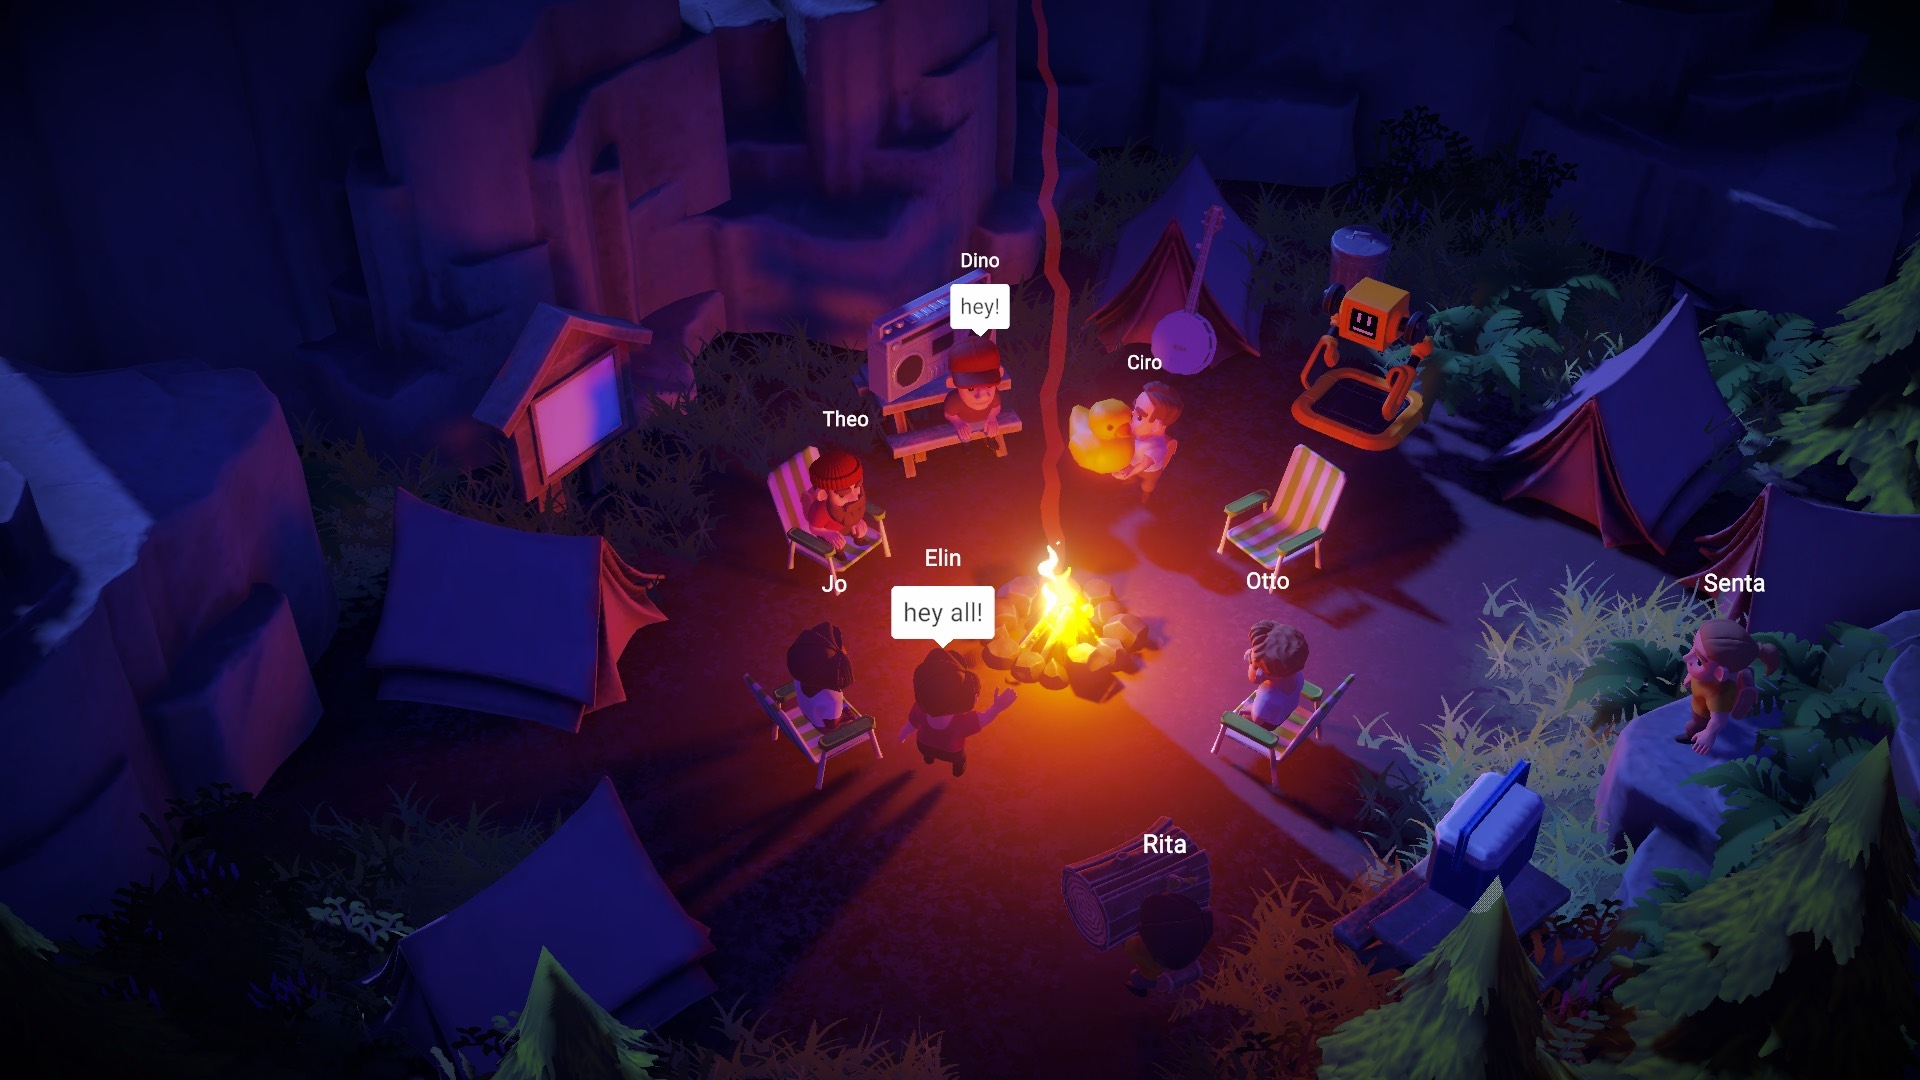
Once you have learned the basics using the First Steps tutorial project, Campfire is the natural follow-up to get acquainted with more advanced and practical topics.
As with First Steps, you can download the whole Campfire Unity project and explore it at your own pace. Instead of being a series of independent scenes, Campfire is one big scene that presents multiple concepts working together at the same time. We recommend using the pages on this section as guidance on the individual topics, starting with getting acquainted with the game structure.
Download the Unity project
The Unity project can be downloaded from its Github repo. The Readme will tell you the minimum Unity version to use.
Try a pre-made build
To quickly try out the game, we shared a WebGL build on the coherence Cloud. You can play it directly in the browser, or download one of the available desktop versions. Share the link with friends and colleagues, and try it together!
Play as a Client
To play as a regular Client, make sure that the GameObject called Simulator is disabled in the scene Main:

Without it, the game will behave as a pure Client and spawn a player character on connection.
Making a Client build
If you want to make a game build, simply having that object off will produce a Client build. You can run many Client builds to experience multiplayer gameplay.
Play as the Simulator
In this project, there is an NPC that is supposed to be controlled by the Simulator (the Keeper Robot). Though this is intended to be a server-side behavior, you can actually make it run locally and play as a player at the same time without modifications to the code.
First, enable the Simulator GameObject in the scene.
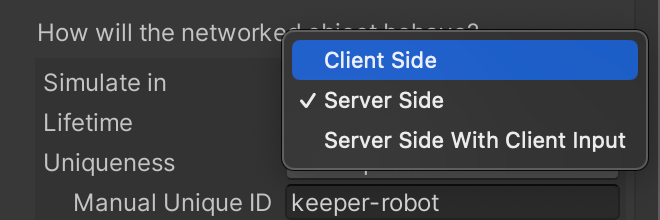
Secondly, open the KeeperRobot prefab contained in 📁Prefabs/Characters. On the CoherenceSync component, change its Simulate In property to Client Side.

Now press Play and connect.
The robot will start acting, exactly like it would do if it were running on a Simulator (minus, of course, the network delay). This allows you to see what would be happening on the server, with the full debugging power of the Unity Editor.
You can even use this Editor instance running alongside one or more Client builds.
Building the Simulator
To create a Simulator build, you have two ways to go about it, as usual:
building a Simulator to launch locally on your machine
building one to upload on the coherence Cloud
In both cases, make sure that the Simulator GameObject is enabled in the scene.
Don't change the Keeper Robot's Simulate In property like described in the previous section, since to run this behavior on the Simulator we want it to stay Server Side.
For more information, refer to the Simulators: Build and Deploy page.
Last updated
Was this helpful?


