Testing locally
Now we can build the project and try out network replication locally. This example will show you how to launch a local Replication Server and connect multiple instances of the game to it.
Running a Replication Server locally
You can run a local Replication Server from:
coherence > Local Replication Server > Run for Rooms / Run for Worlds

As with most features found in the menu, you can find local Replication Server functionality in the coherence Hub as well.
Open the Replication Servers tab and run a Room or a World Replication Server:

Regardless of how you launch it, a new terminal window will open and display the running Replication Server:

Whether you run one for Rooms or for Worlds depends on which setup you plan to use, which in turn requires the correct corresponding Sample UI.
Build and Connect
Now it's time to make a standalone build and test network replication.
#protip: Go to Project Settings, Player and change the Fullscreen Mode to Windowed and enable Resizable Window. This will make it much easier to observe standalone builds side-by-side when testing networking.
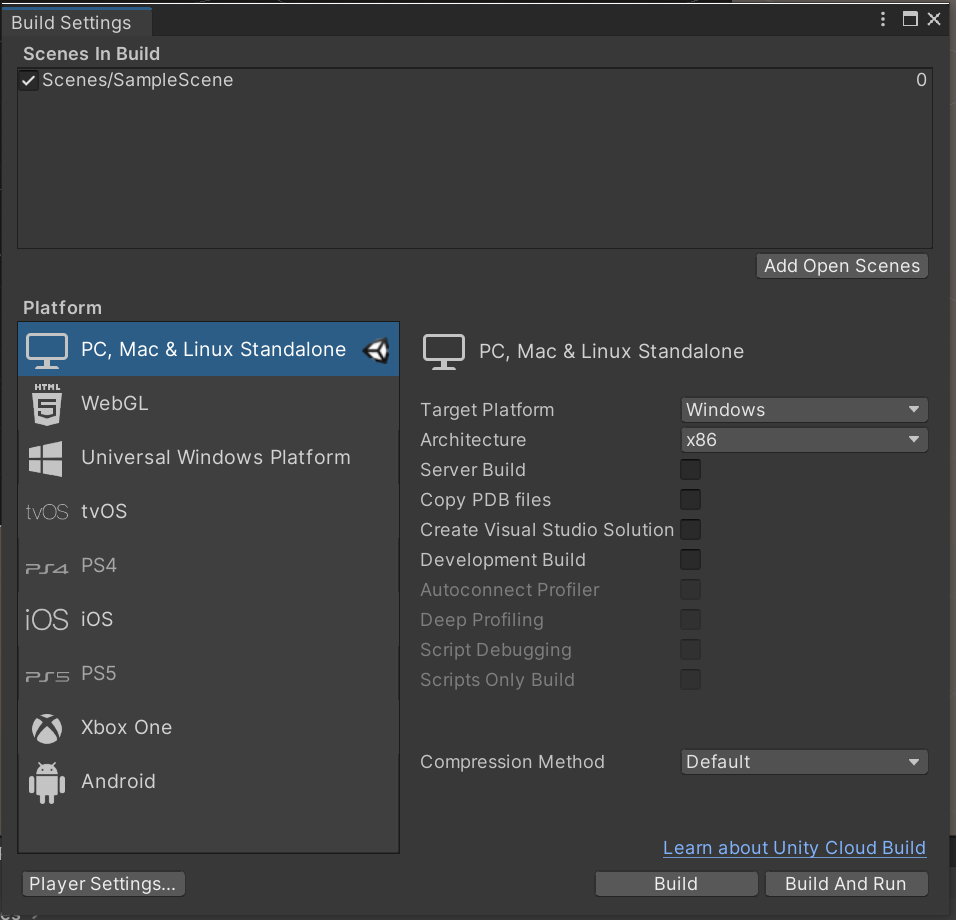
Open the Build Settings window (File > Build Settings). Click on Add Open Scenes to add the current scene to the build.
Click Build and Run.

Select a folder (e.g. Builds) and click OK.

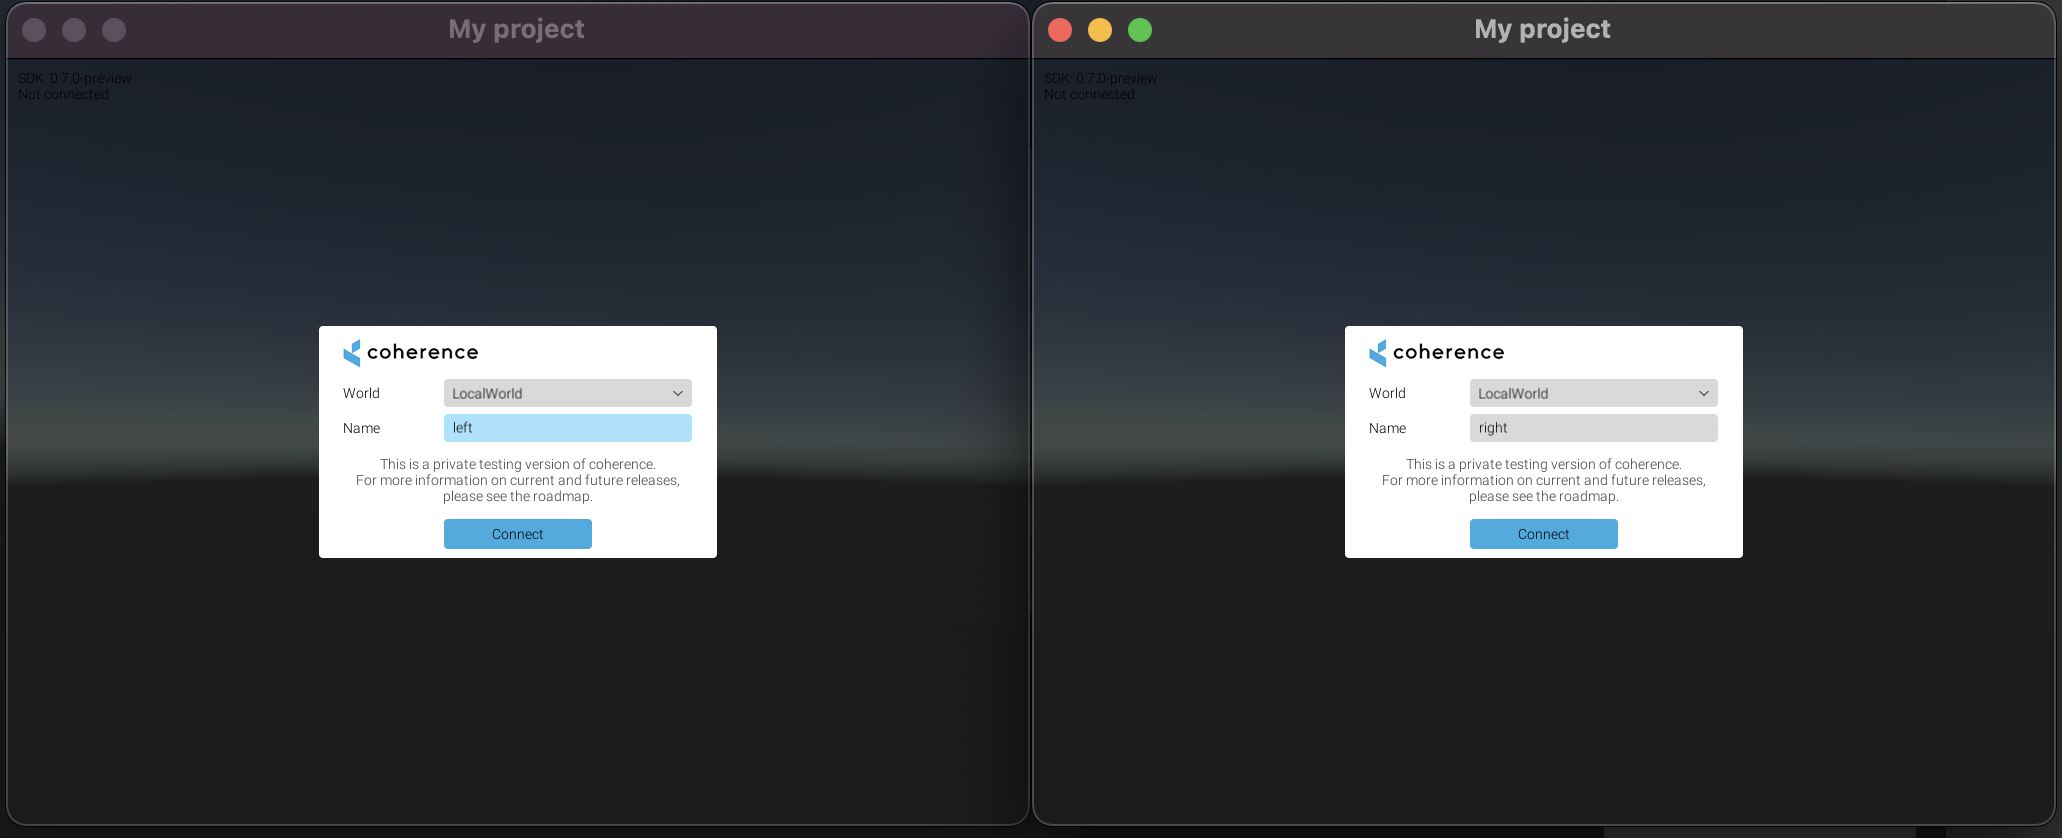
When the build is done, start another instance of the executable (or run the project in Unity by just hitting Play).

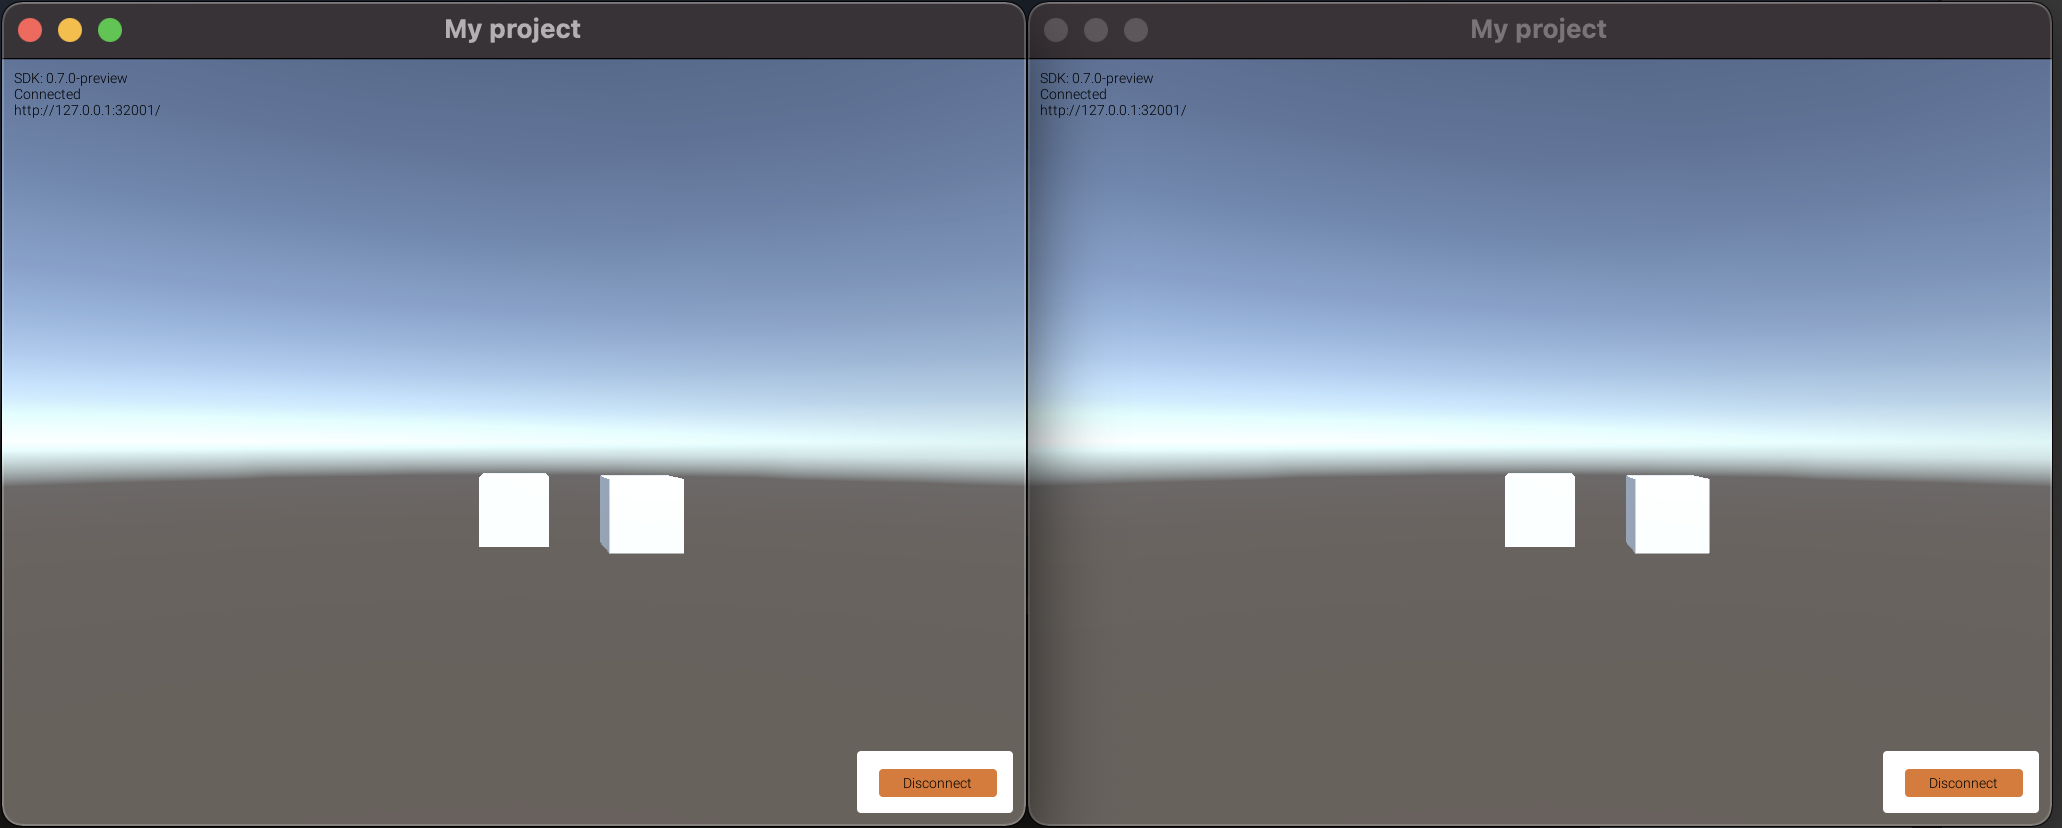
Click Connect in the connection UIs on both clients. Now, try focusing on one and using WASD keys. You will see the box move on the other side as well.

Congratulations! You've made your first coherence replicated experience. But this is only the beginning. Keep exploring the documentation to take advantage of more advanced coherence features.
Last updated
Was this helpful?

